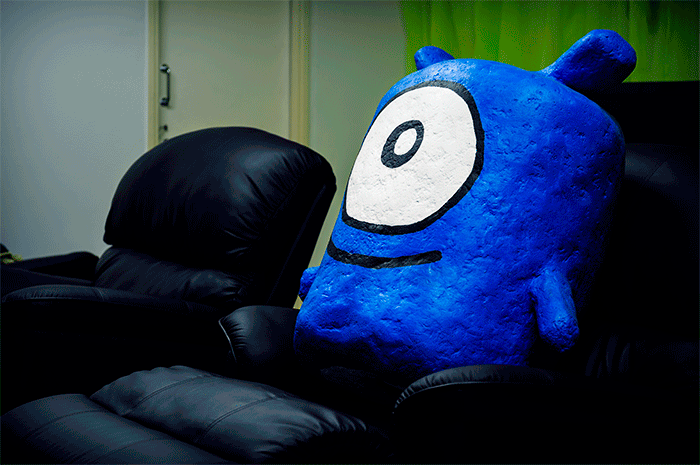
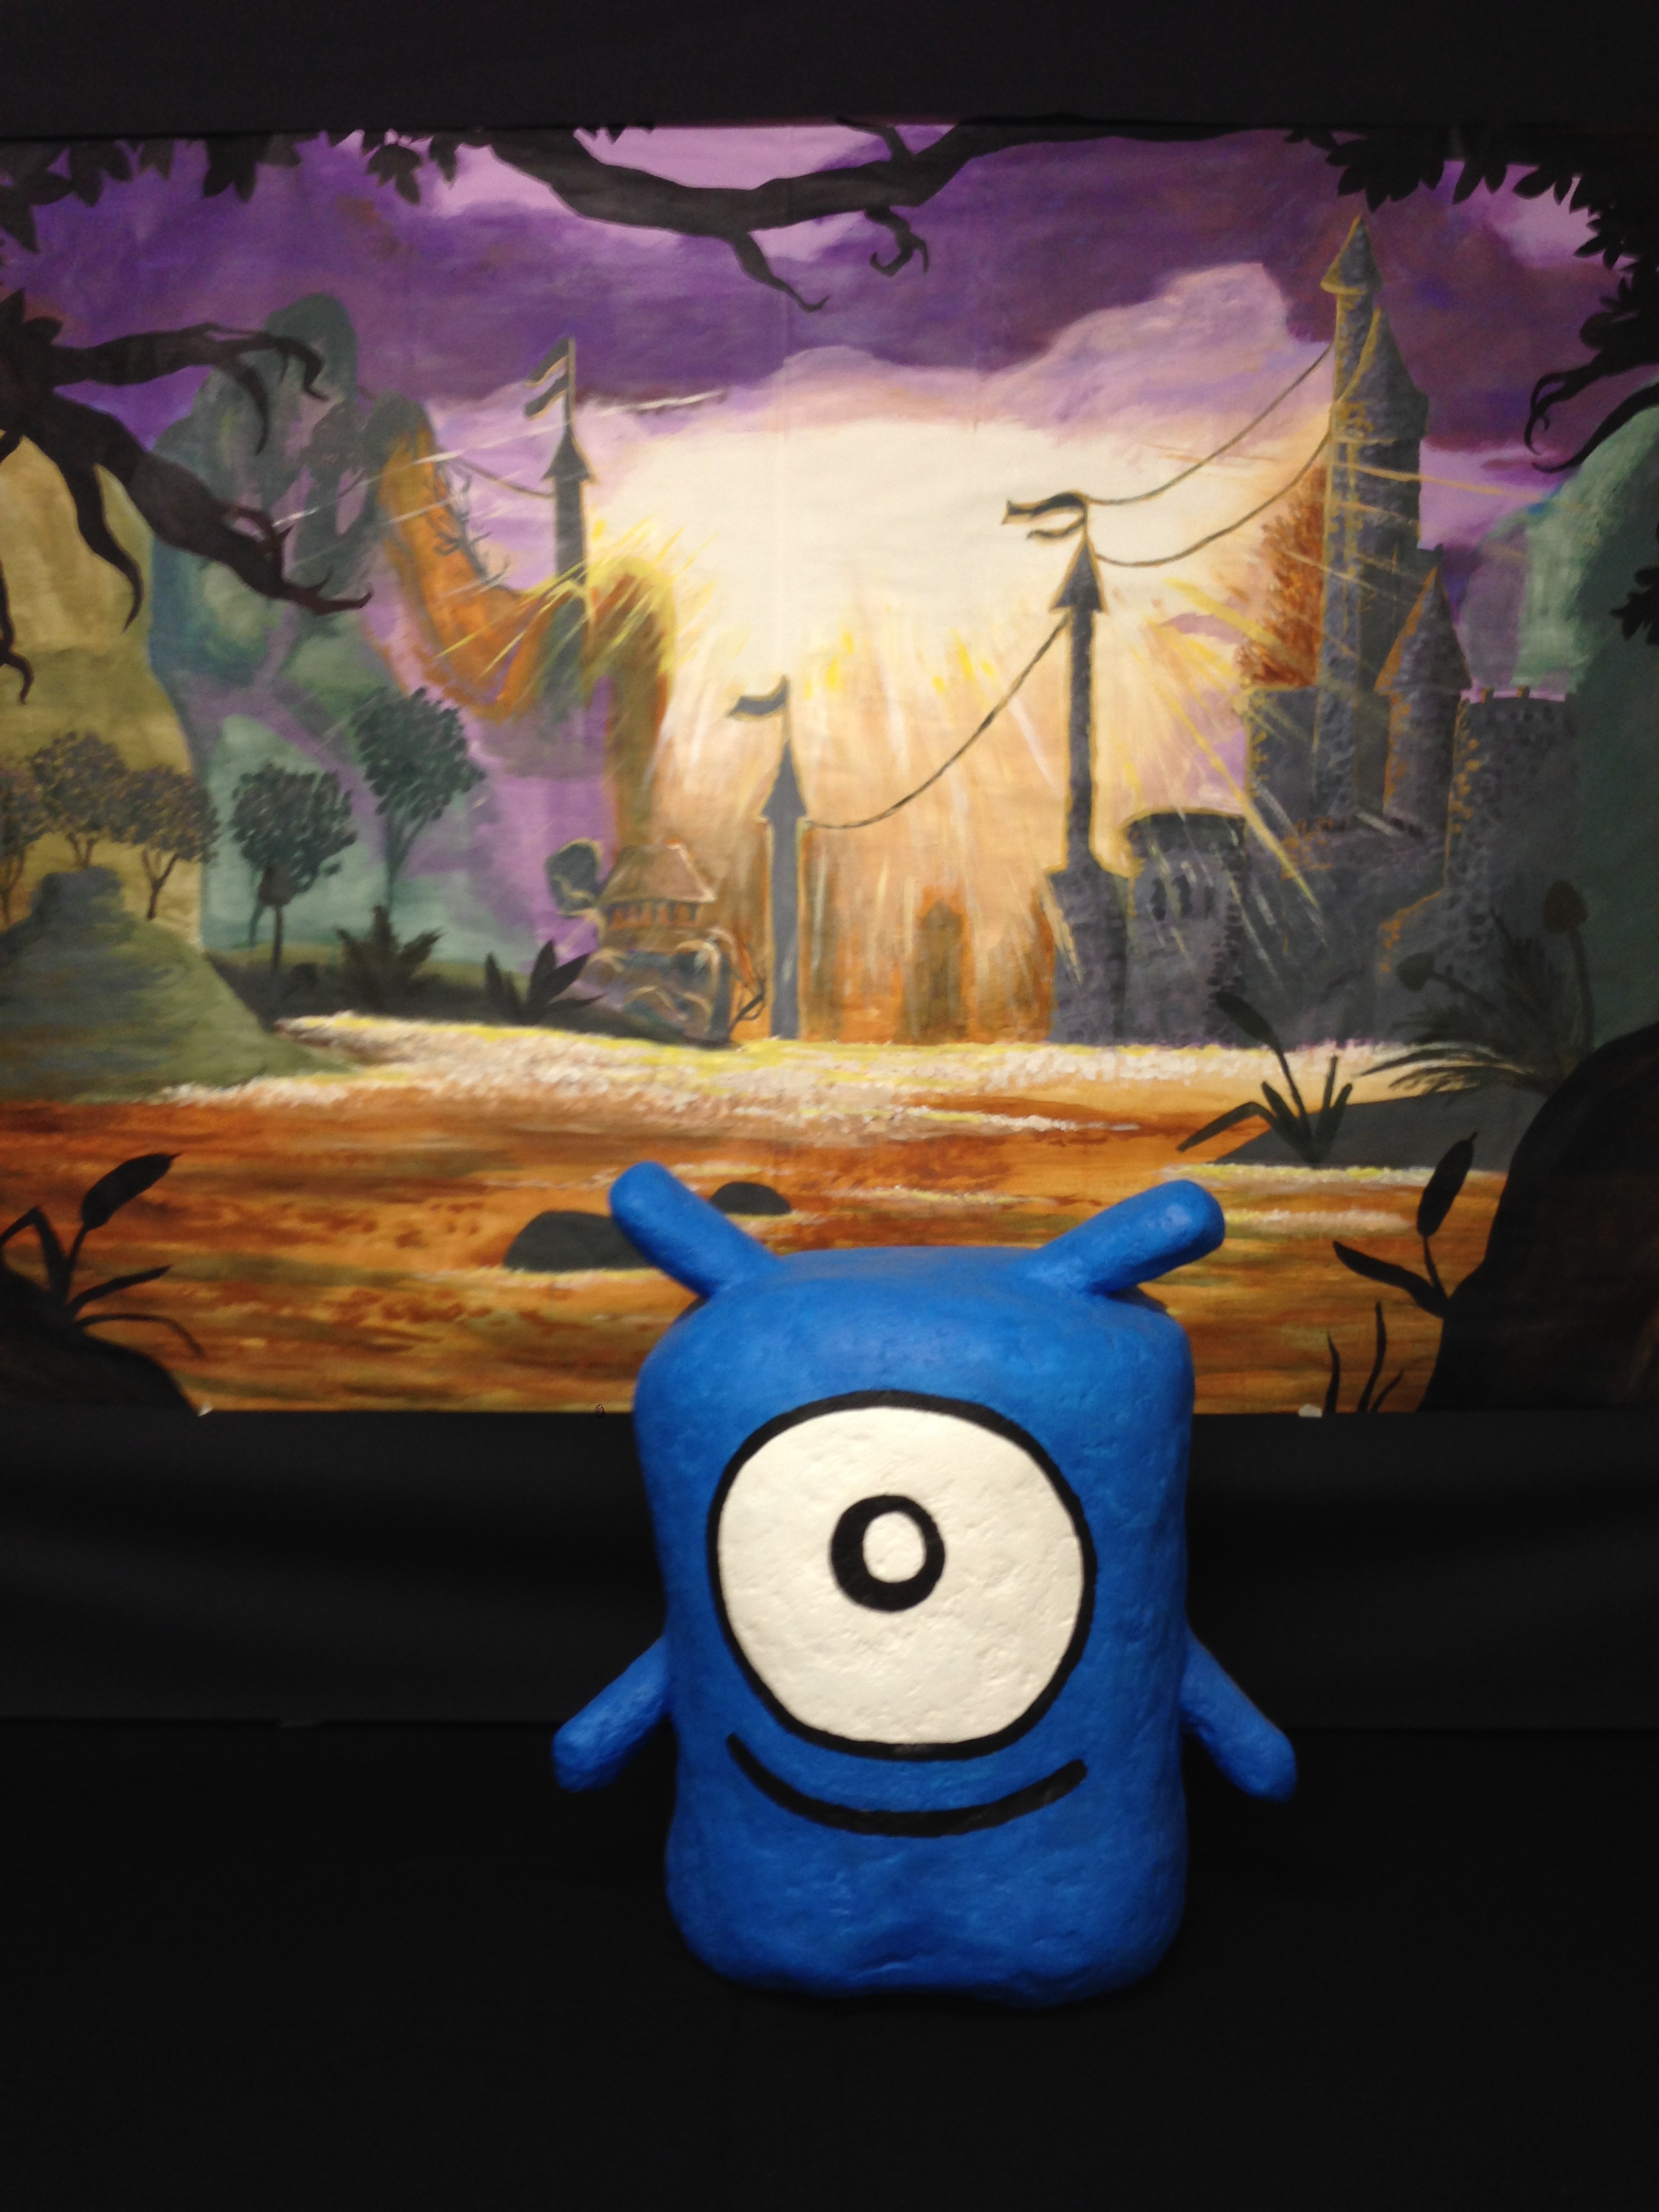
You may have seen this huge Splot, crafted by our writer Maija, on our blog before. We received a question about what it was made of. As it happens, Maija had some pictures left from when she was making it, so here you go. 🙂 You’ll find Maija’s comments below the pics.

The statue started off as a big flat piece of chicken wire, which I transformed into the shape of Splot. On top of the wire was laid a thin newspaper paper maché base to attach the wet wool on.
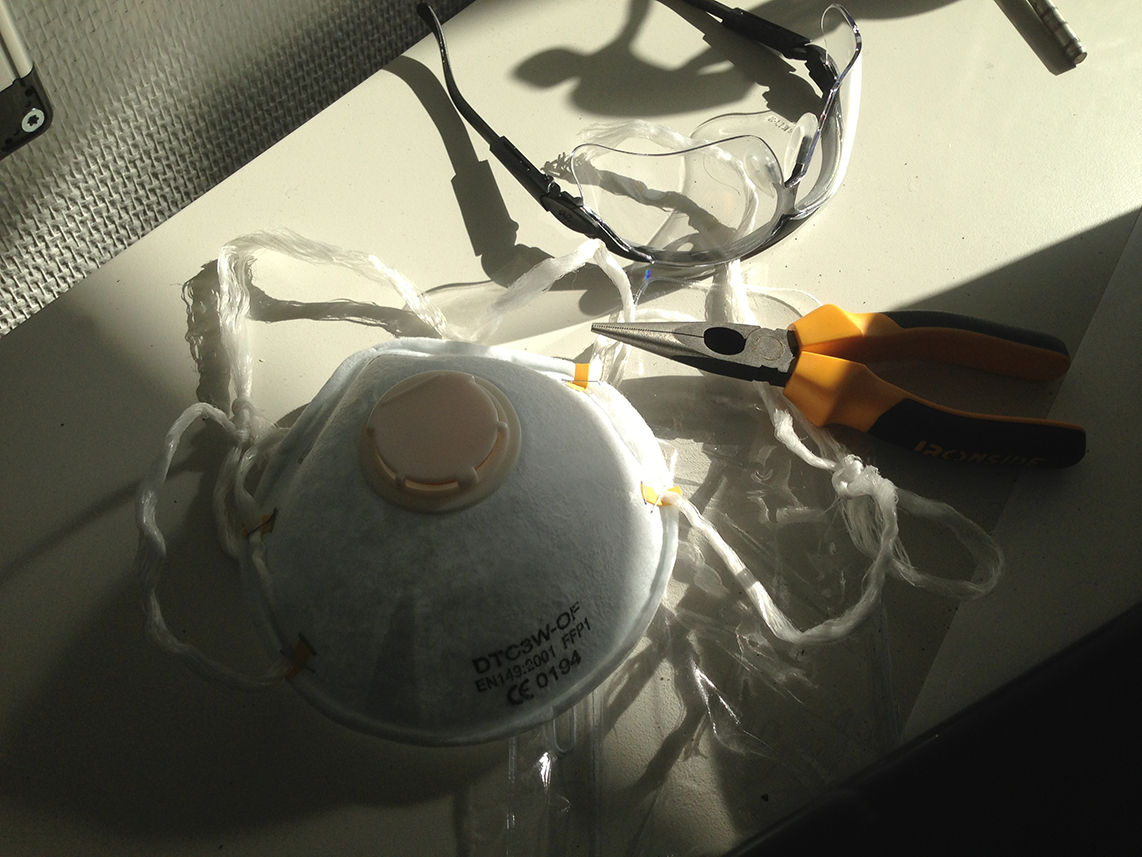
Here are some of the tools I used:
– breathing mask for handling insulation wool (it can ruin your lungs!)
– goggles, because the residue from the wool is just as bad for your eyeballs as it is for lungs
– pliers, for shaping chicken wire and plain metal wire

A sculptor selfie
The newspaper and chickenwire base of the statue is covered with wet insulation wool. The wool was drenched in a mixture of glue and thin wallpaper paste, so when the wool dries it becomes very solid.
I used the white plastic spoon as a scuplting tool.
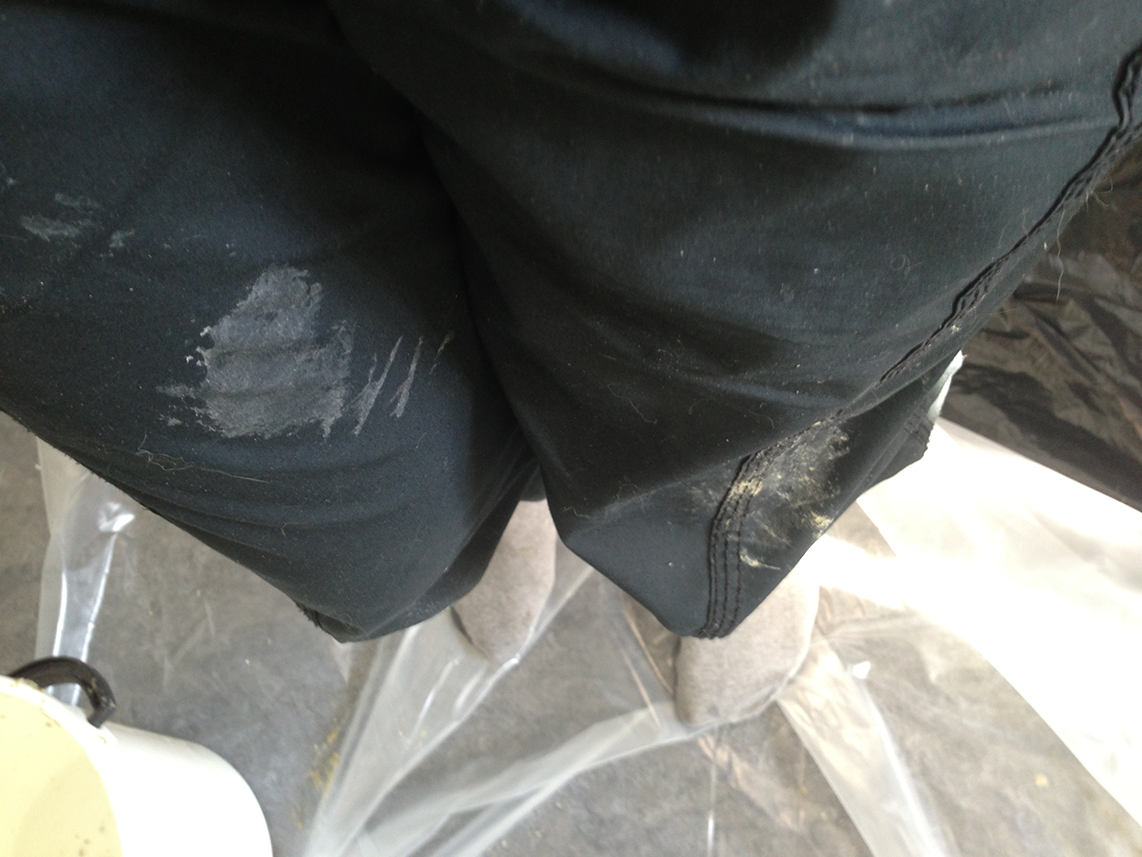
It’s messy work so I kept getting glue stains on my clothes.
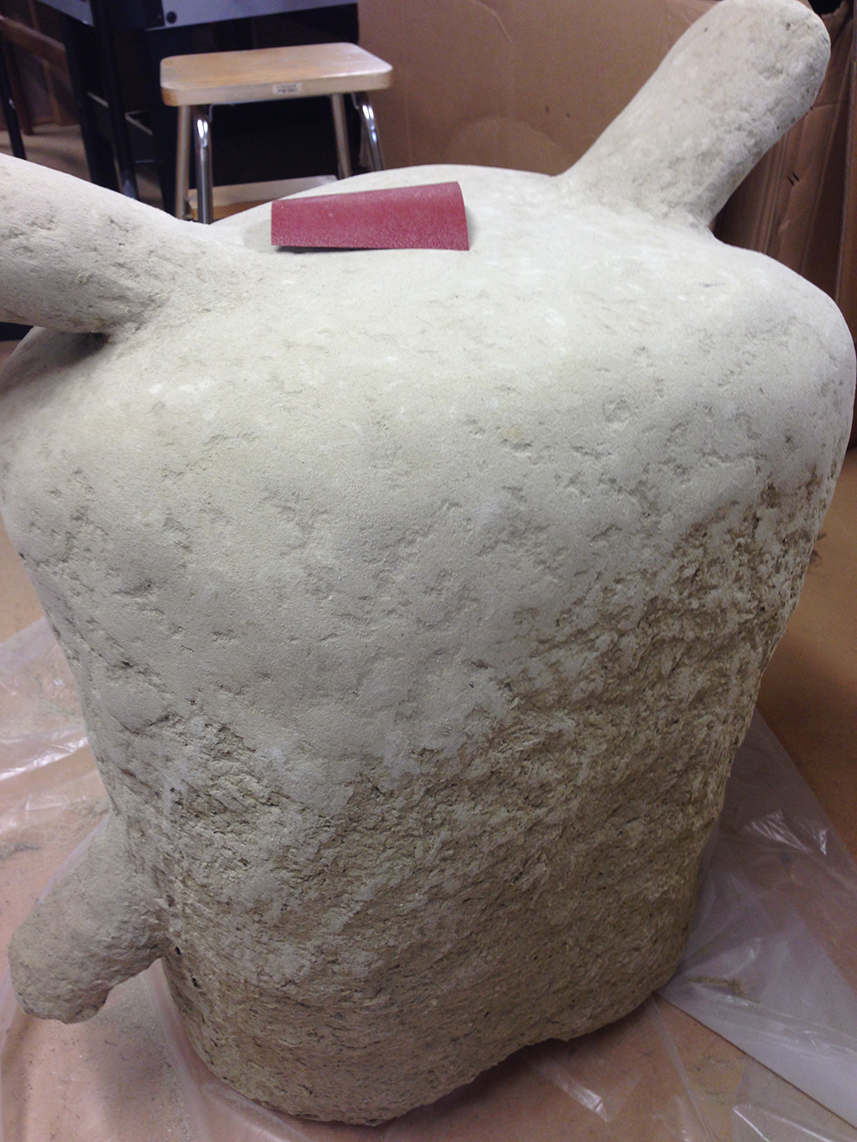
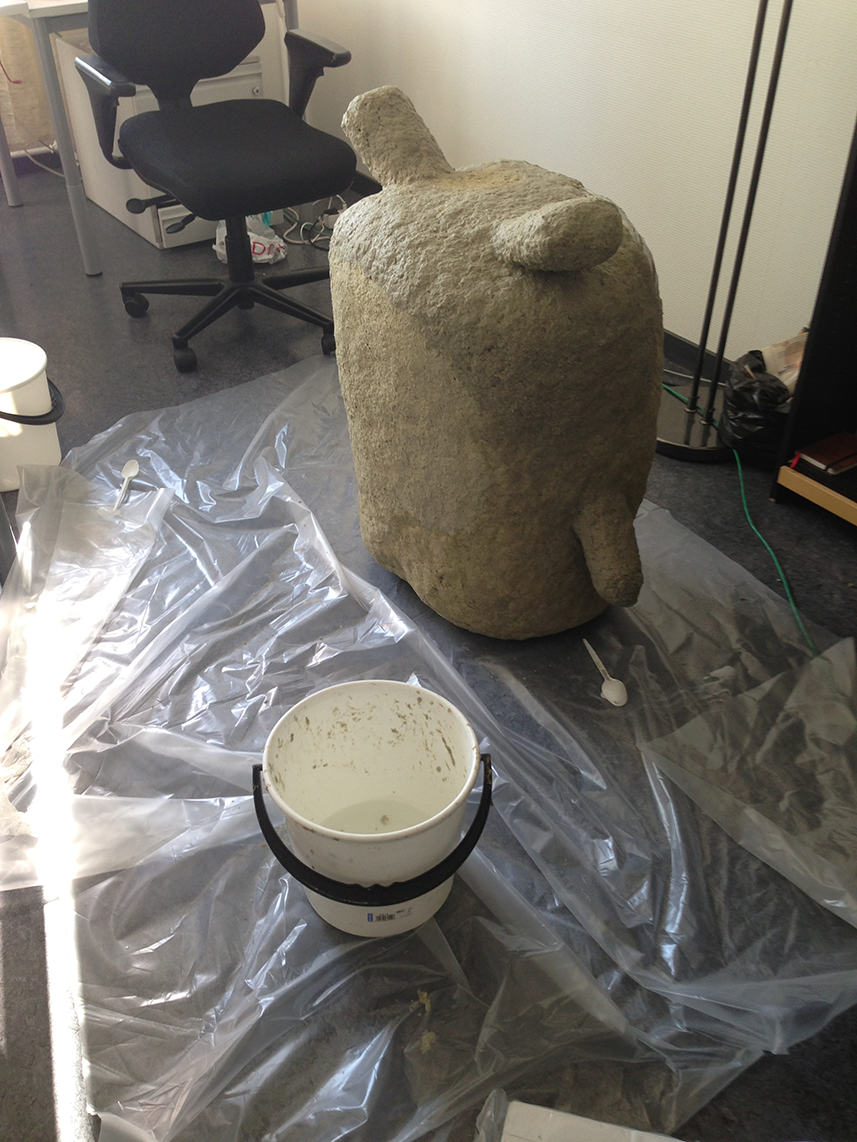
Here you can see the insulation wool has dried, and I have started to smooth the rough edges with a piece of sandpaper – it’s the red thing resting on top of Splot’s head.
His head starts to be sort-of there, but you can make out the uneven bits down the backside which is yet untouched.

Here I’ve started to apply some gesso. I actually had a very old half-a-bucket of gesso at home and it was all dried up, but I figured I might get something out of it by adding water and mixing it vigorously. It didn’t go down as well as I’d planned it in my head, because I was scraping the dry gesso layer by layer out of the bucket.
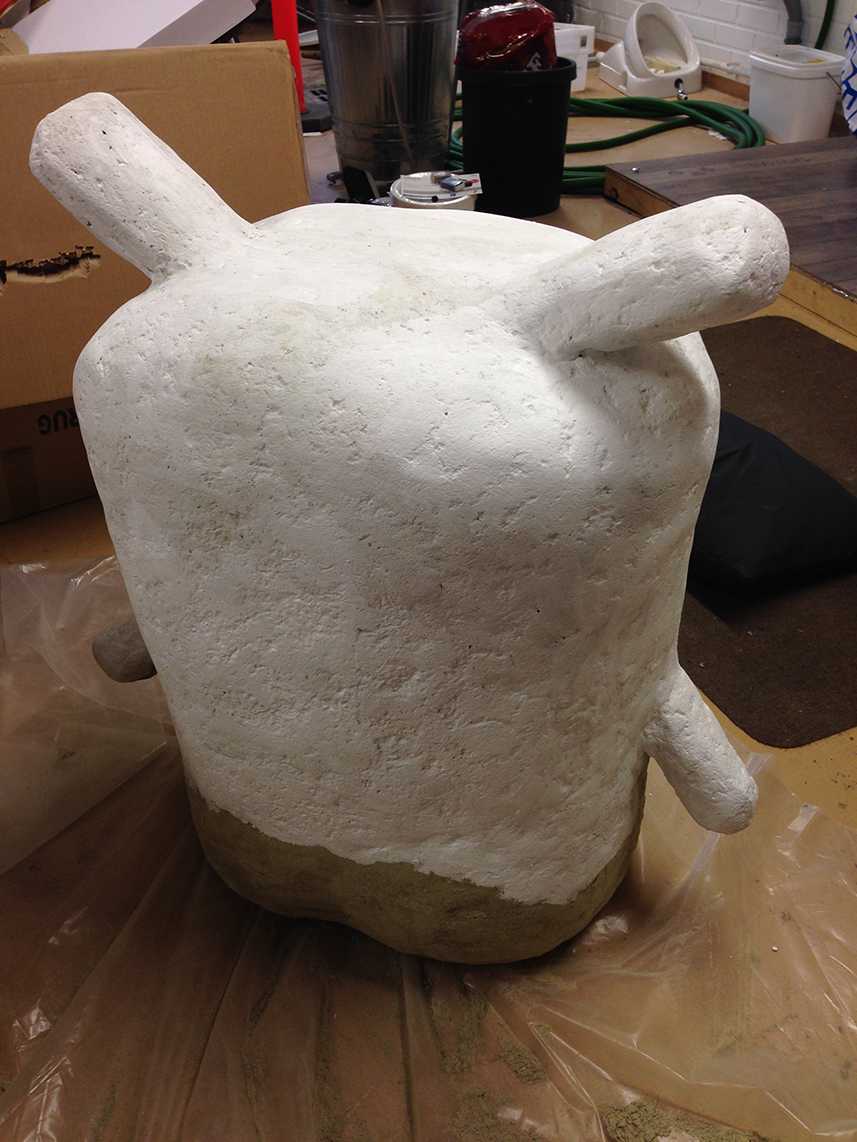
The white gesso layer is put in place to make sure the mute brown and grey wool doesn’t kill the layer of blue colour placed on top.
(Well, later I learned that it takes a lot to mute the colours of acrylic paint layers. So I’m still not entirely sure if this was a necessary step.)
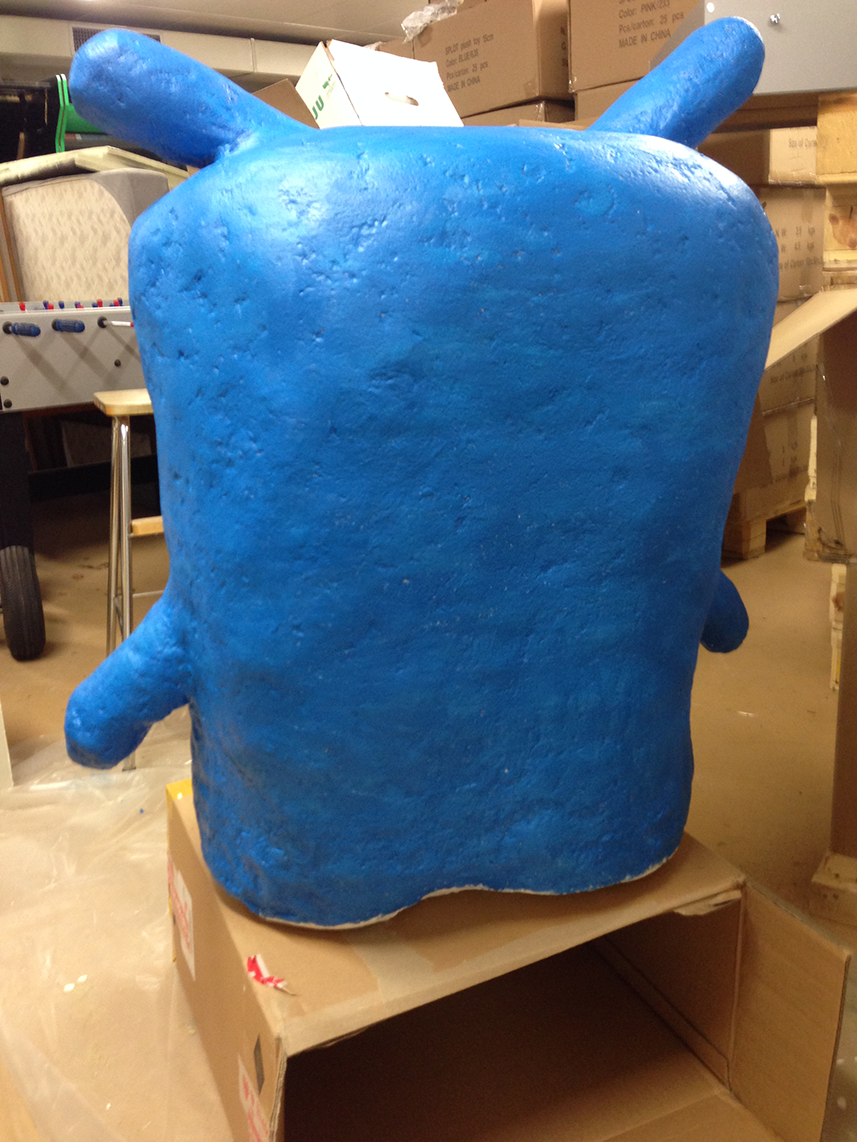
Splot got colour on his back!
Almost but not quite done yet with the blue acrylic paint, there’s a bit more to do around his pseudofeet.
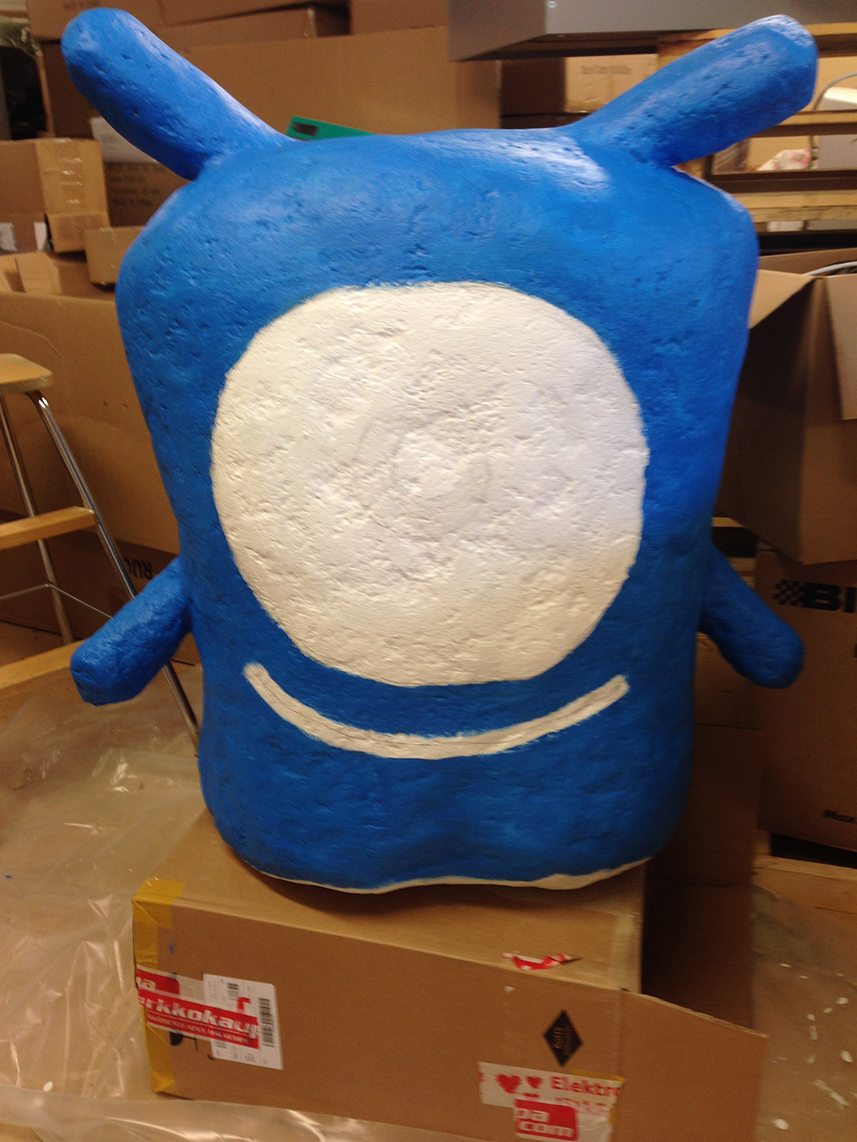
Applying some black and hoping I don’t mess it up since I’m all out of white paint at this point…
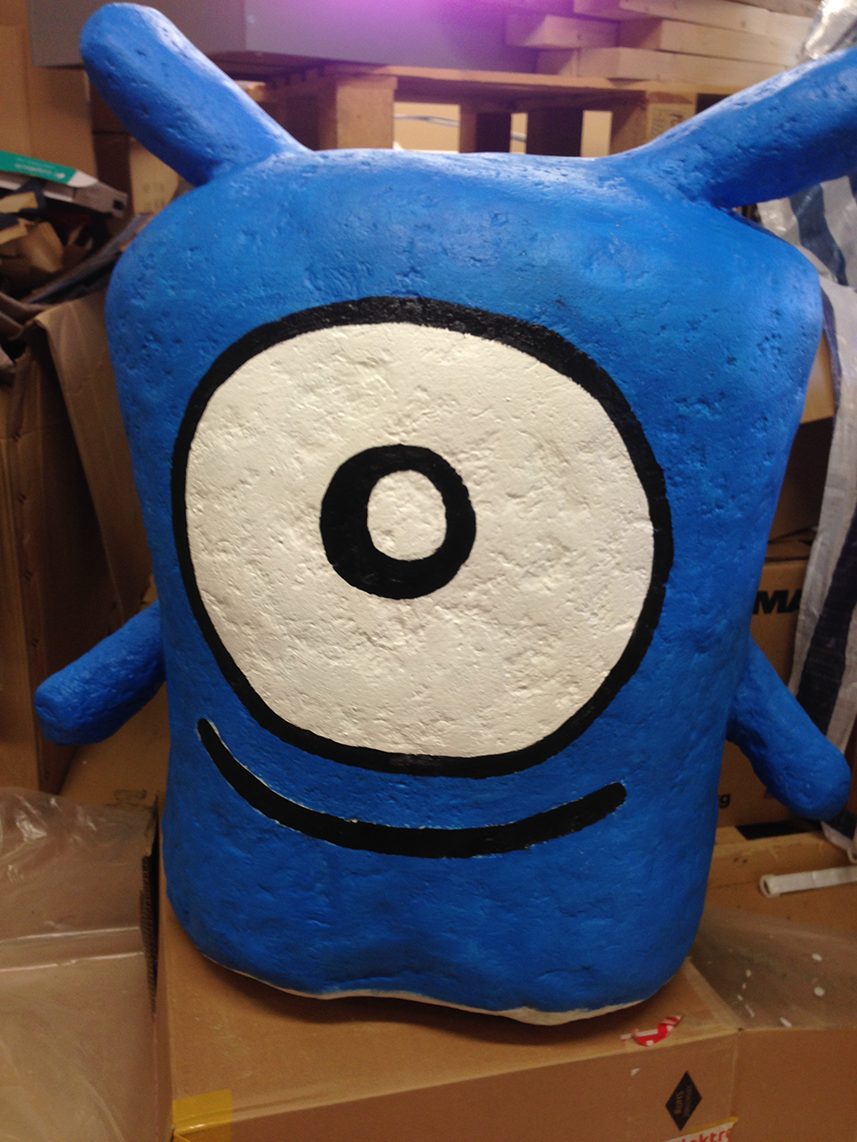
You can see the finished Splot is not 100 % smooth and even. This is because some of the glue paste wool wasn’t drenched through properly enough, so there were some dry air pockets in the middle of the sculputre, which opened while I was smoothing him out with the sandpaper. I had to be cautious after that to avoid sandpapering down to the newspaper and chickenwire layer which would have resulted in unwanted holes!
I mixed the wool and the paste using just my hands to blend everything, I think I would have avoided the mystery air pockets if I’d used an electric immersion blender instead of my fingers. I think “borrowing” a blender from the kitchen might have resulted in some sort of a scandal and the possibility of me not allowed to sit in the lunch hall anymore.
The final Splot has paint under his legs and a smile without white edges.
Maija also painted the above Trine 2 painting together with Kaija from our catering team. We’ll post pics from that process next week. 🙂
Leave a Reply