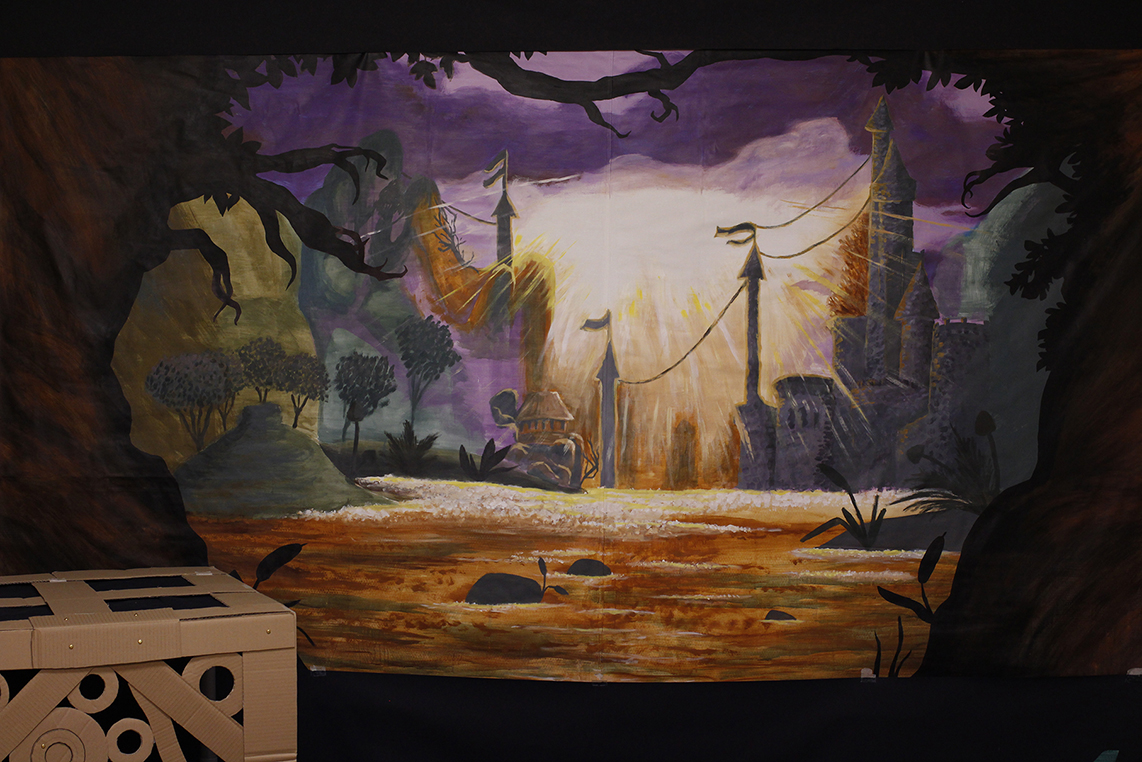
Last week we showed you how how this Splot Sculpture was made. We promised to also show pics from the creating process of the below Trine 2 painting. It was painted together by Maija (our writer) and Kaija (from our catering team) for our last year’s office Christmas party. Maija’s comments below:
The Trine 2 Painting is something we did with one of my coworkers from catering, as a Christmas gift 2014 for everyone at the office. It’s a photography studio backdrop, and it took about 20 hours to make, we both worked after hours on it after our days were done for about four weeks before the office Christmas party. It was a very special project, since I didn’t really know how to paint properly, so she taught me, bless her, this wouldn’t have happened without K.
I think the concept of the painting is really fun, since it is literally a painting of a screenshot of a game based on a painting, and our painting is used as a backdrop for making more pictures – with a camera.
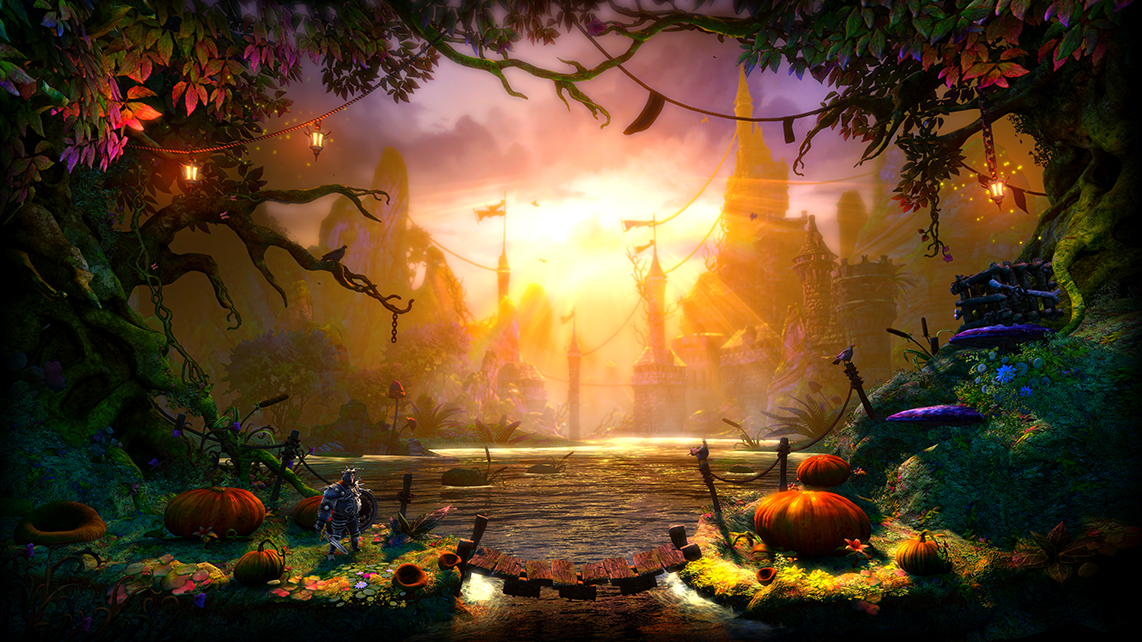
So if you’ve played Trine 2 you know it has a very cool playable menu when you start the game.
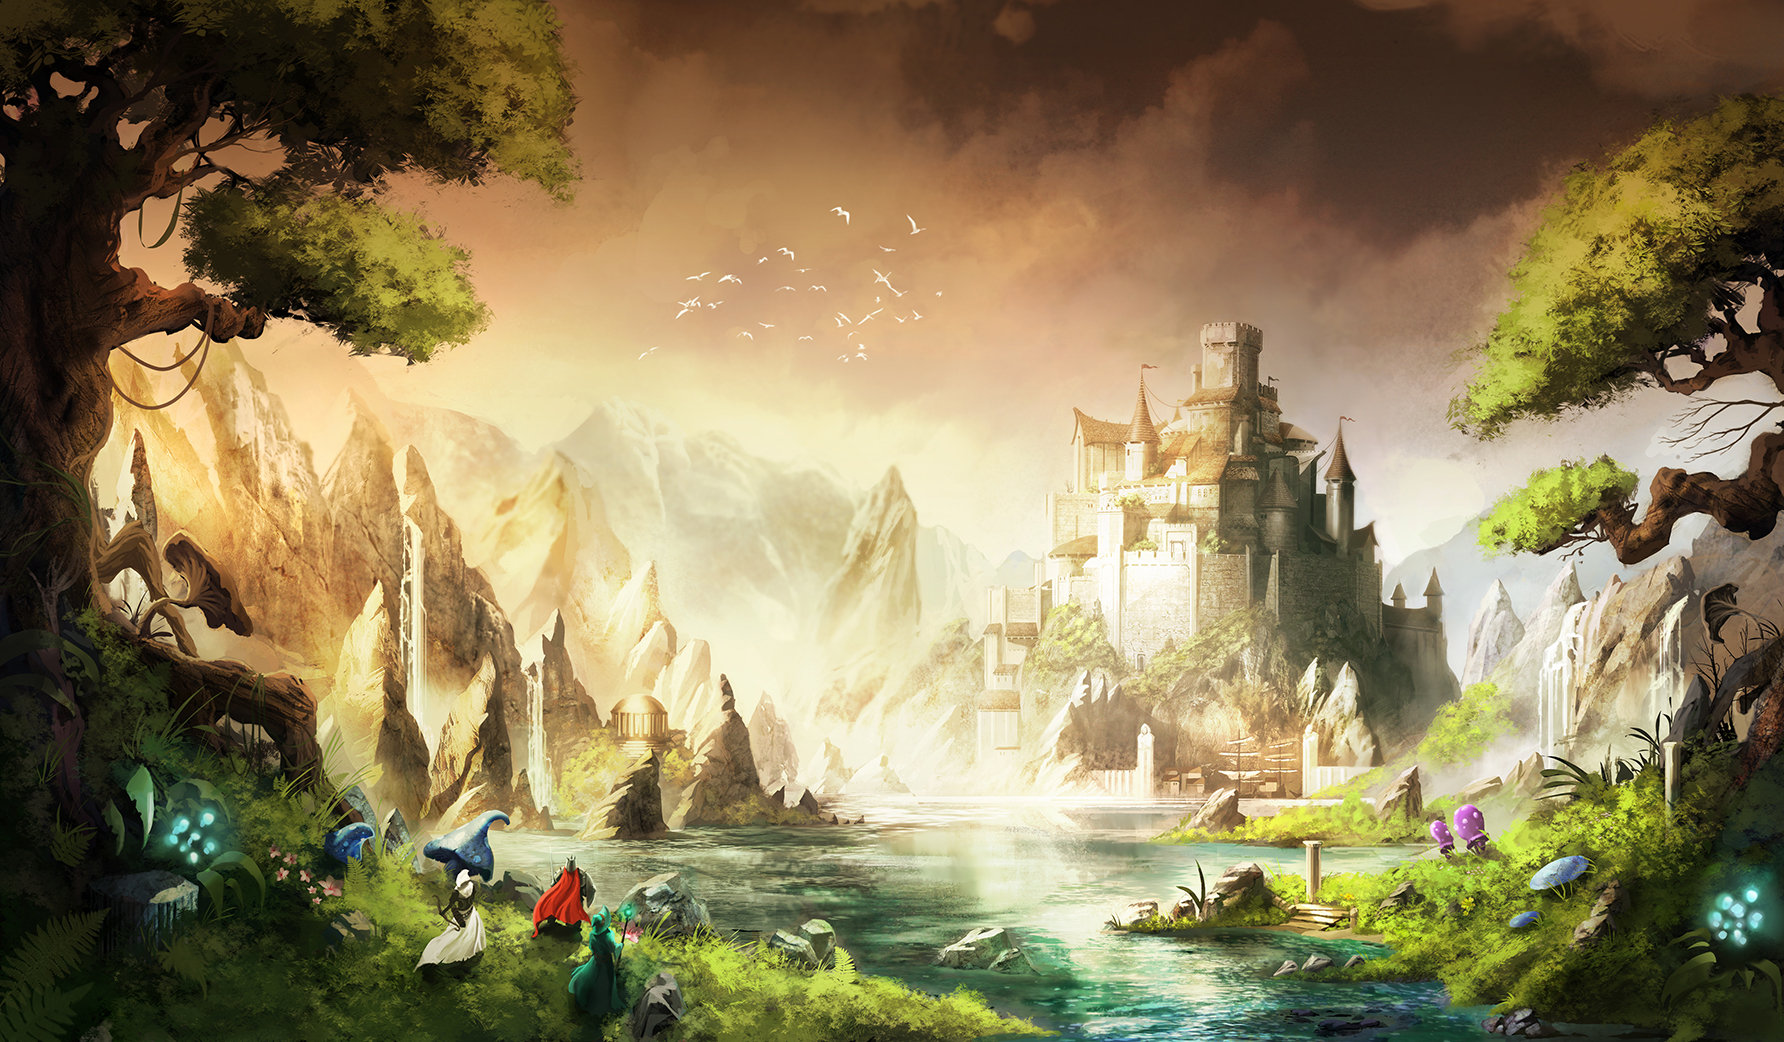
The scenery on that playable menu is based on a digital painting made for a marketing campaign of Trine 2.
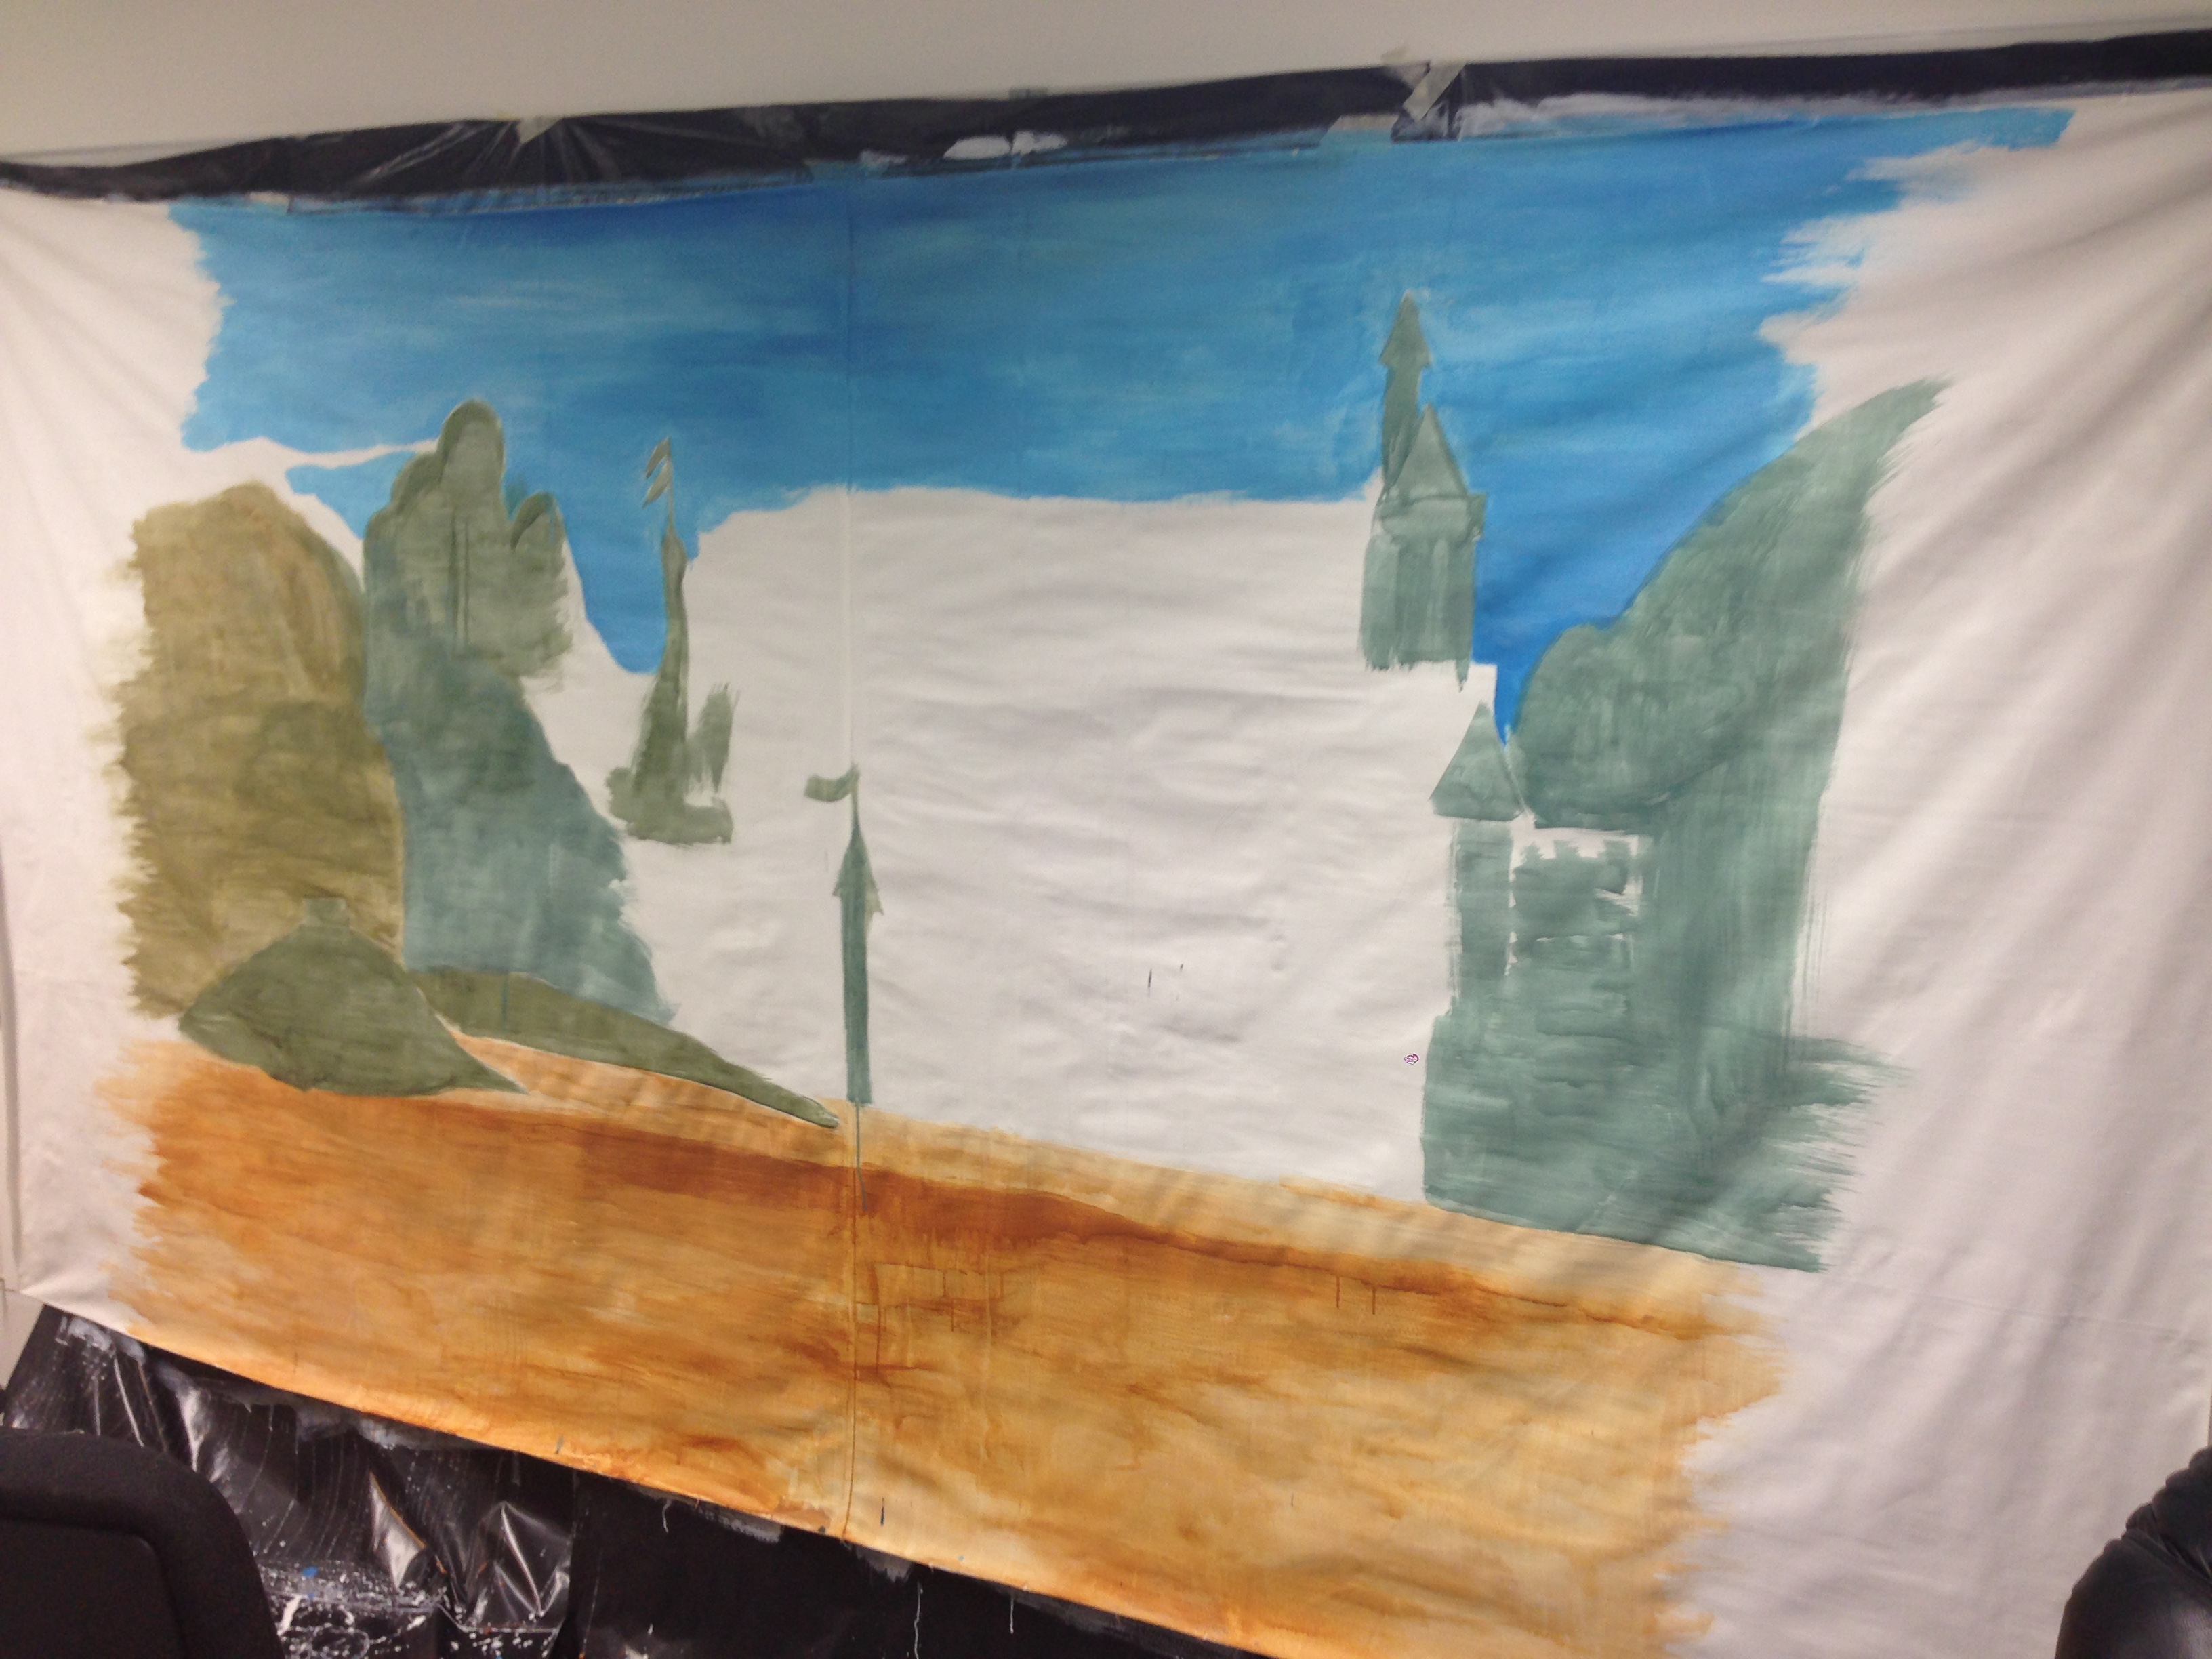
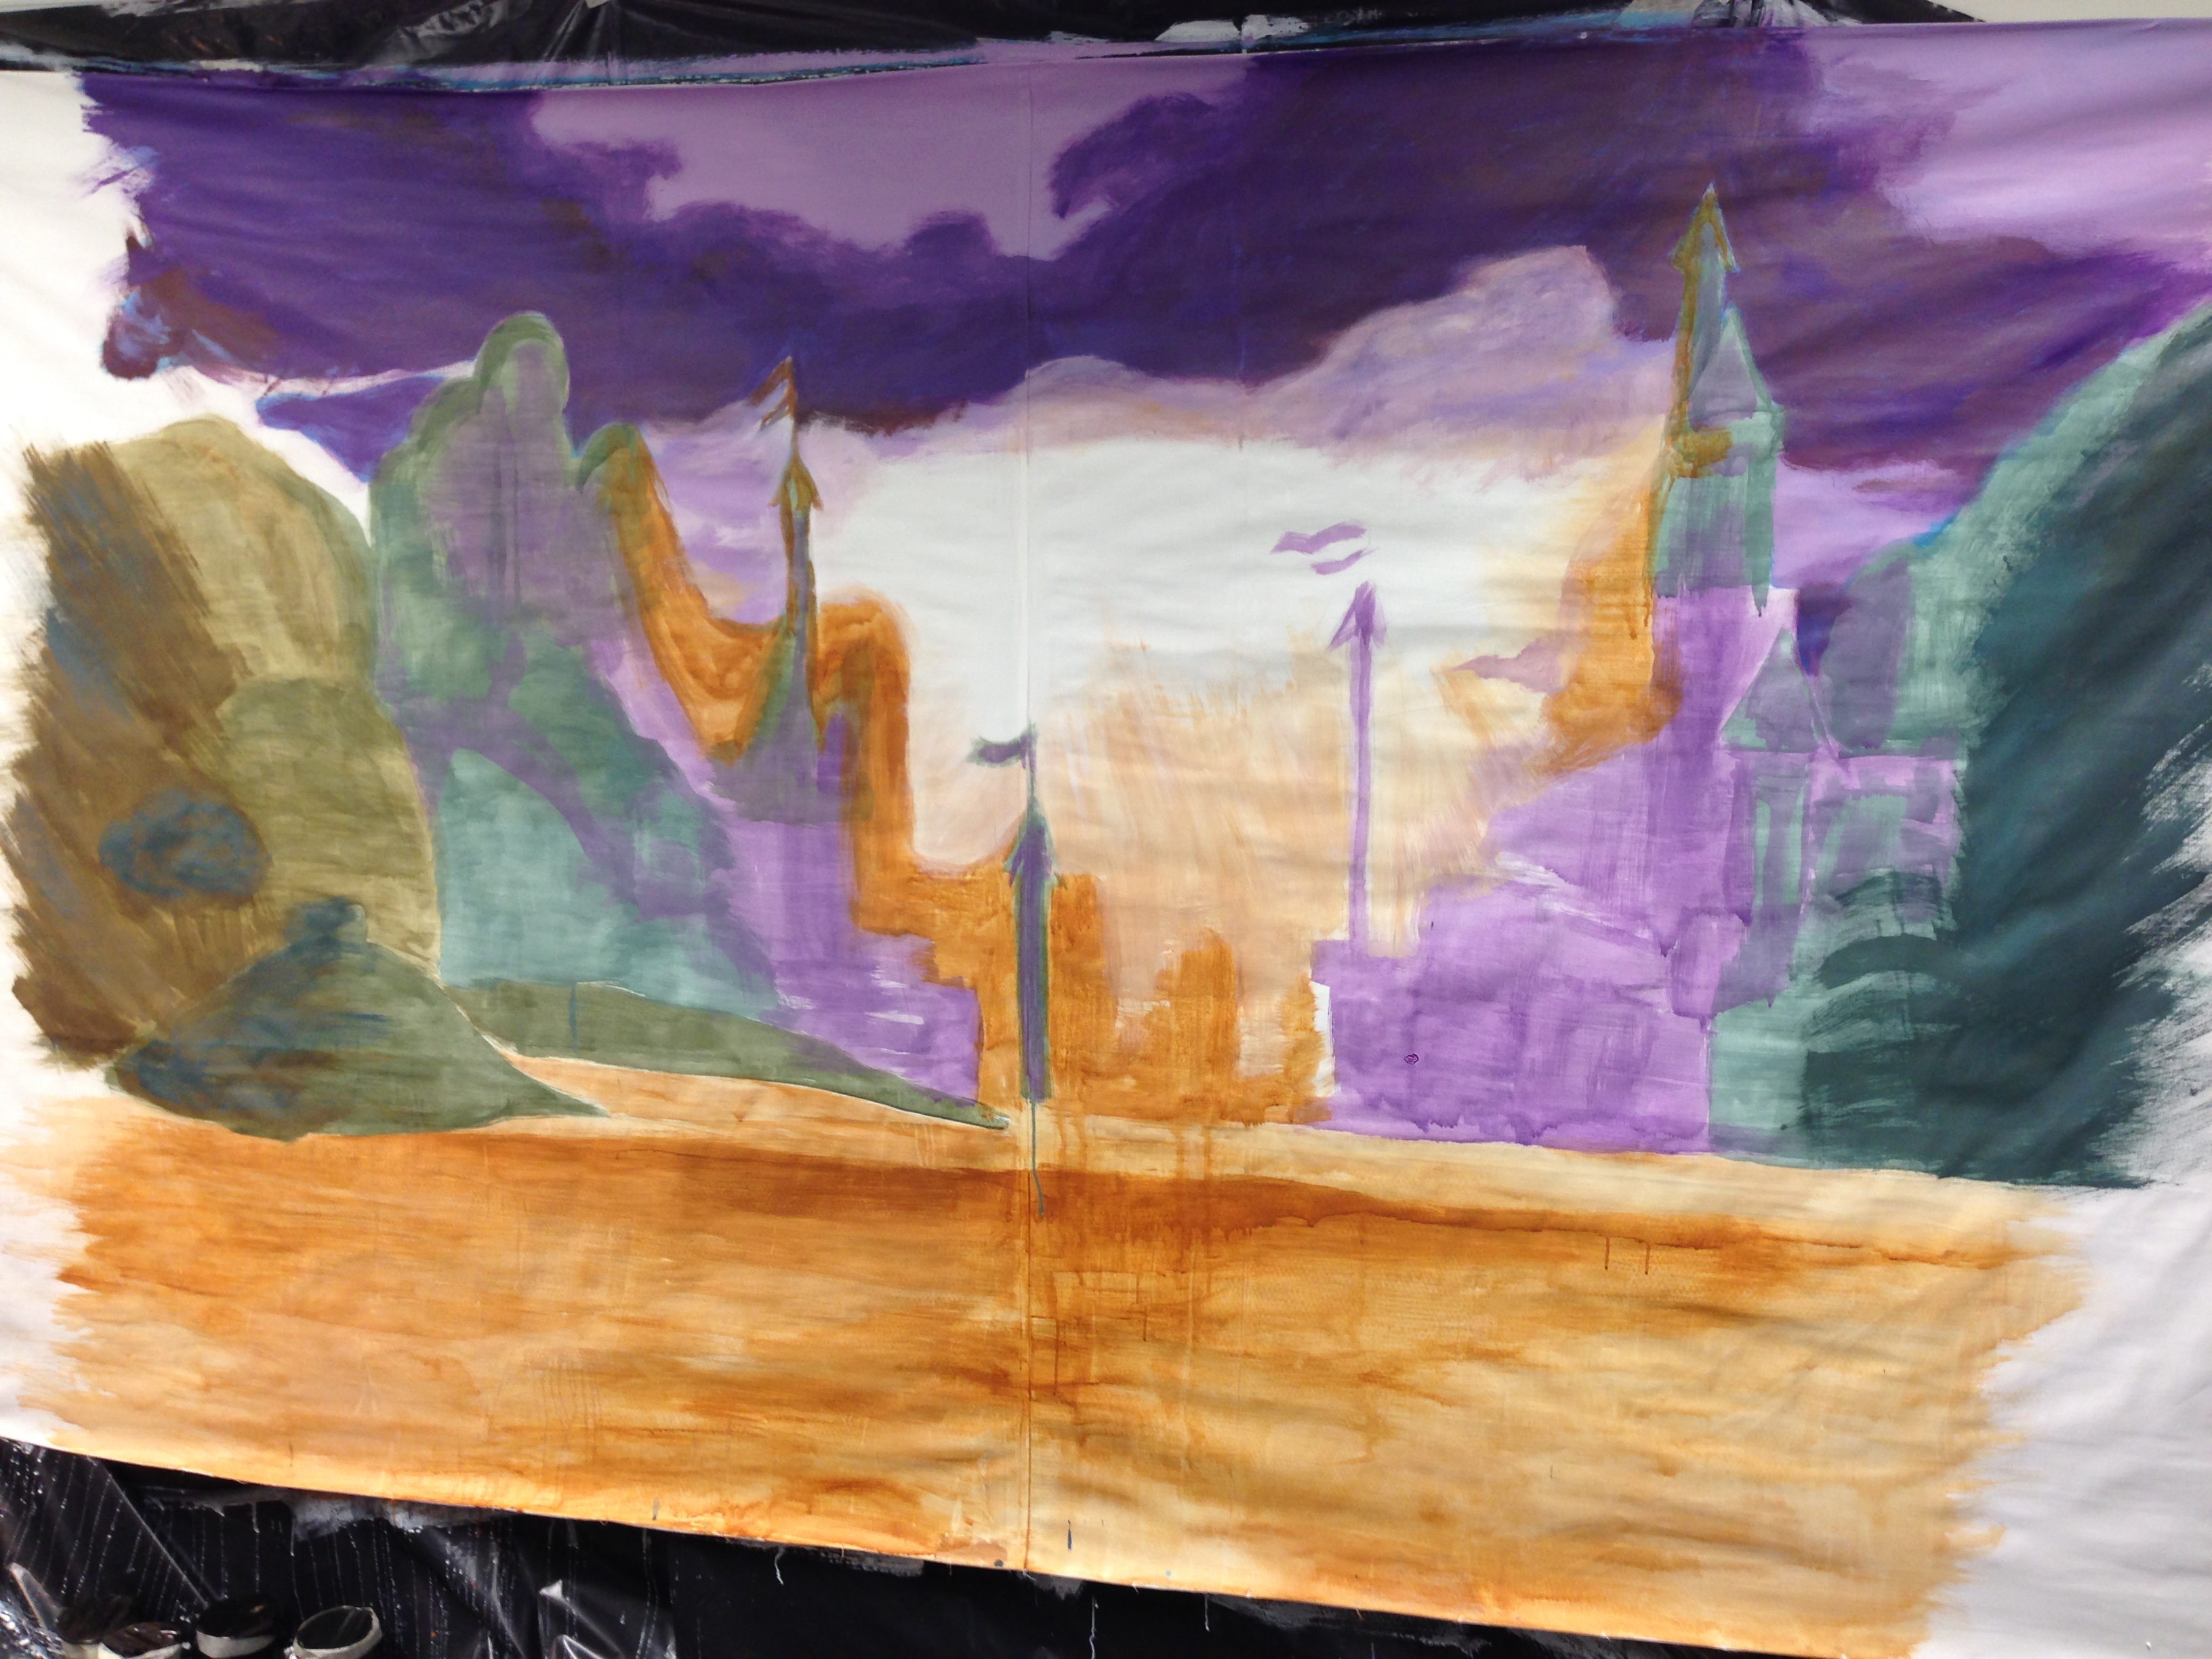
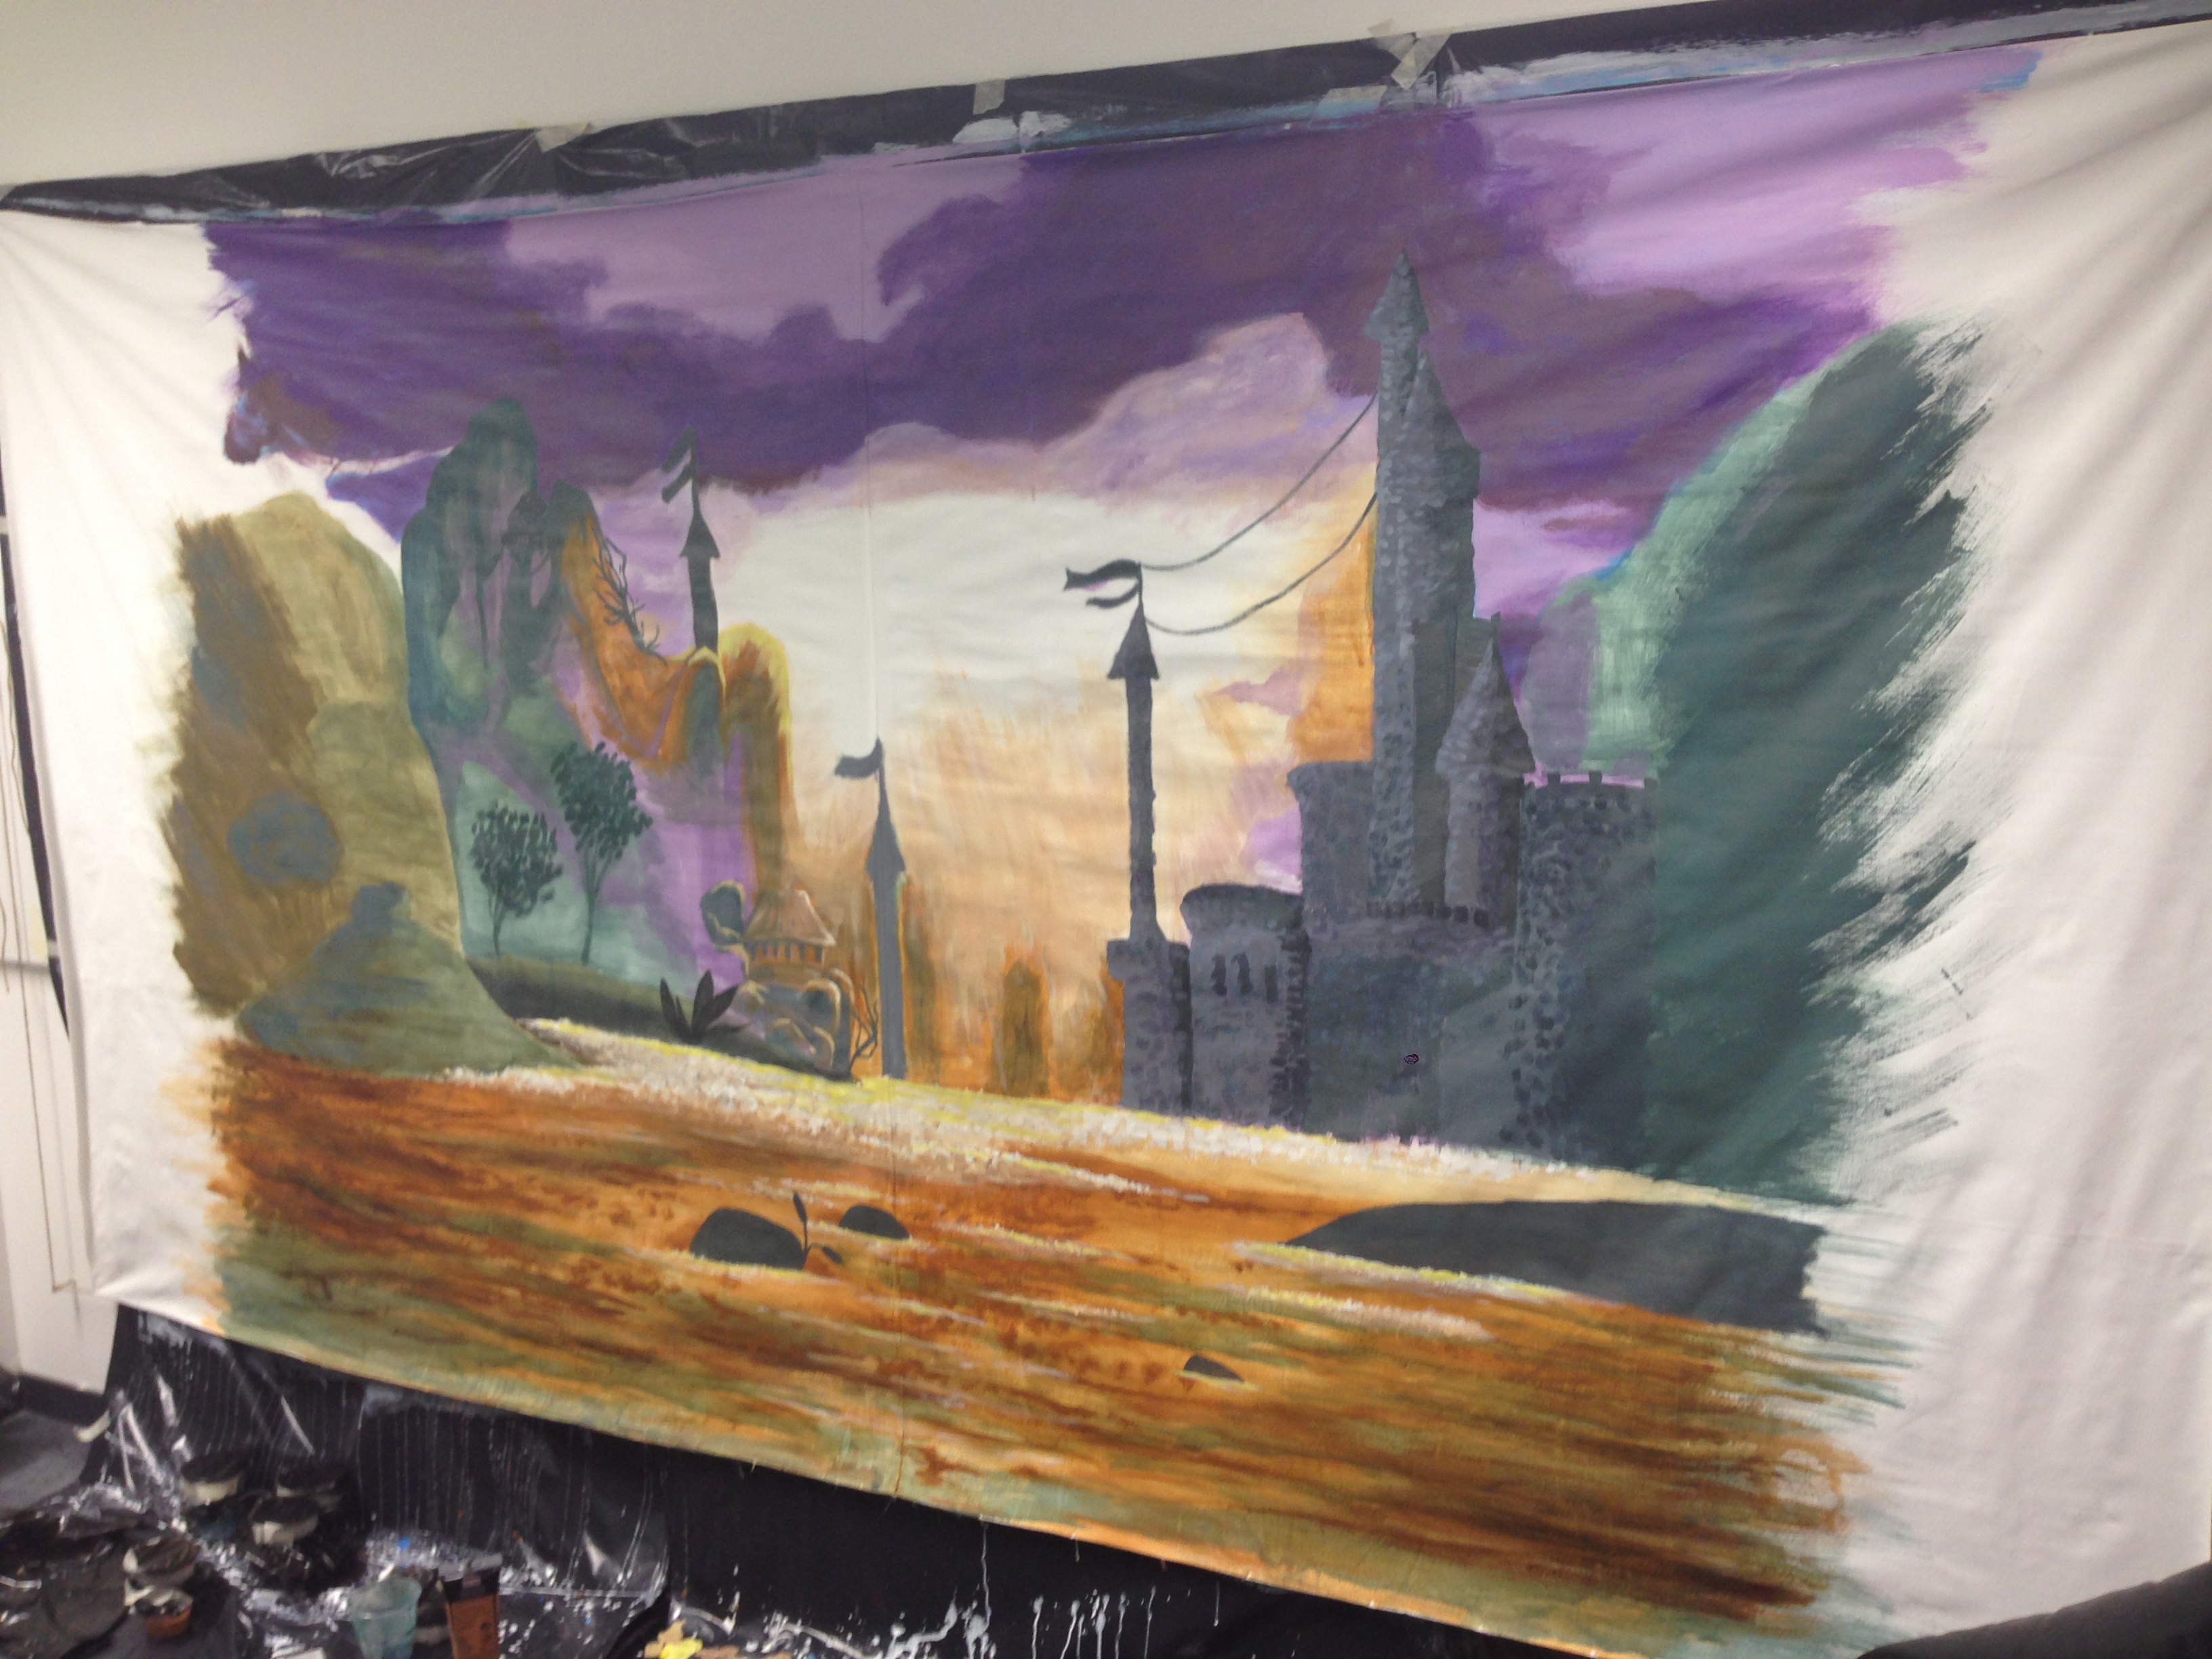
I started off sewing together the canvas and draping it against my office wall. I had very limited tools so I tried my best to use some sturdy packaging hemp twine to get the canvas sort-of stretched properly, but you can see there are folds and creases.
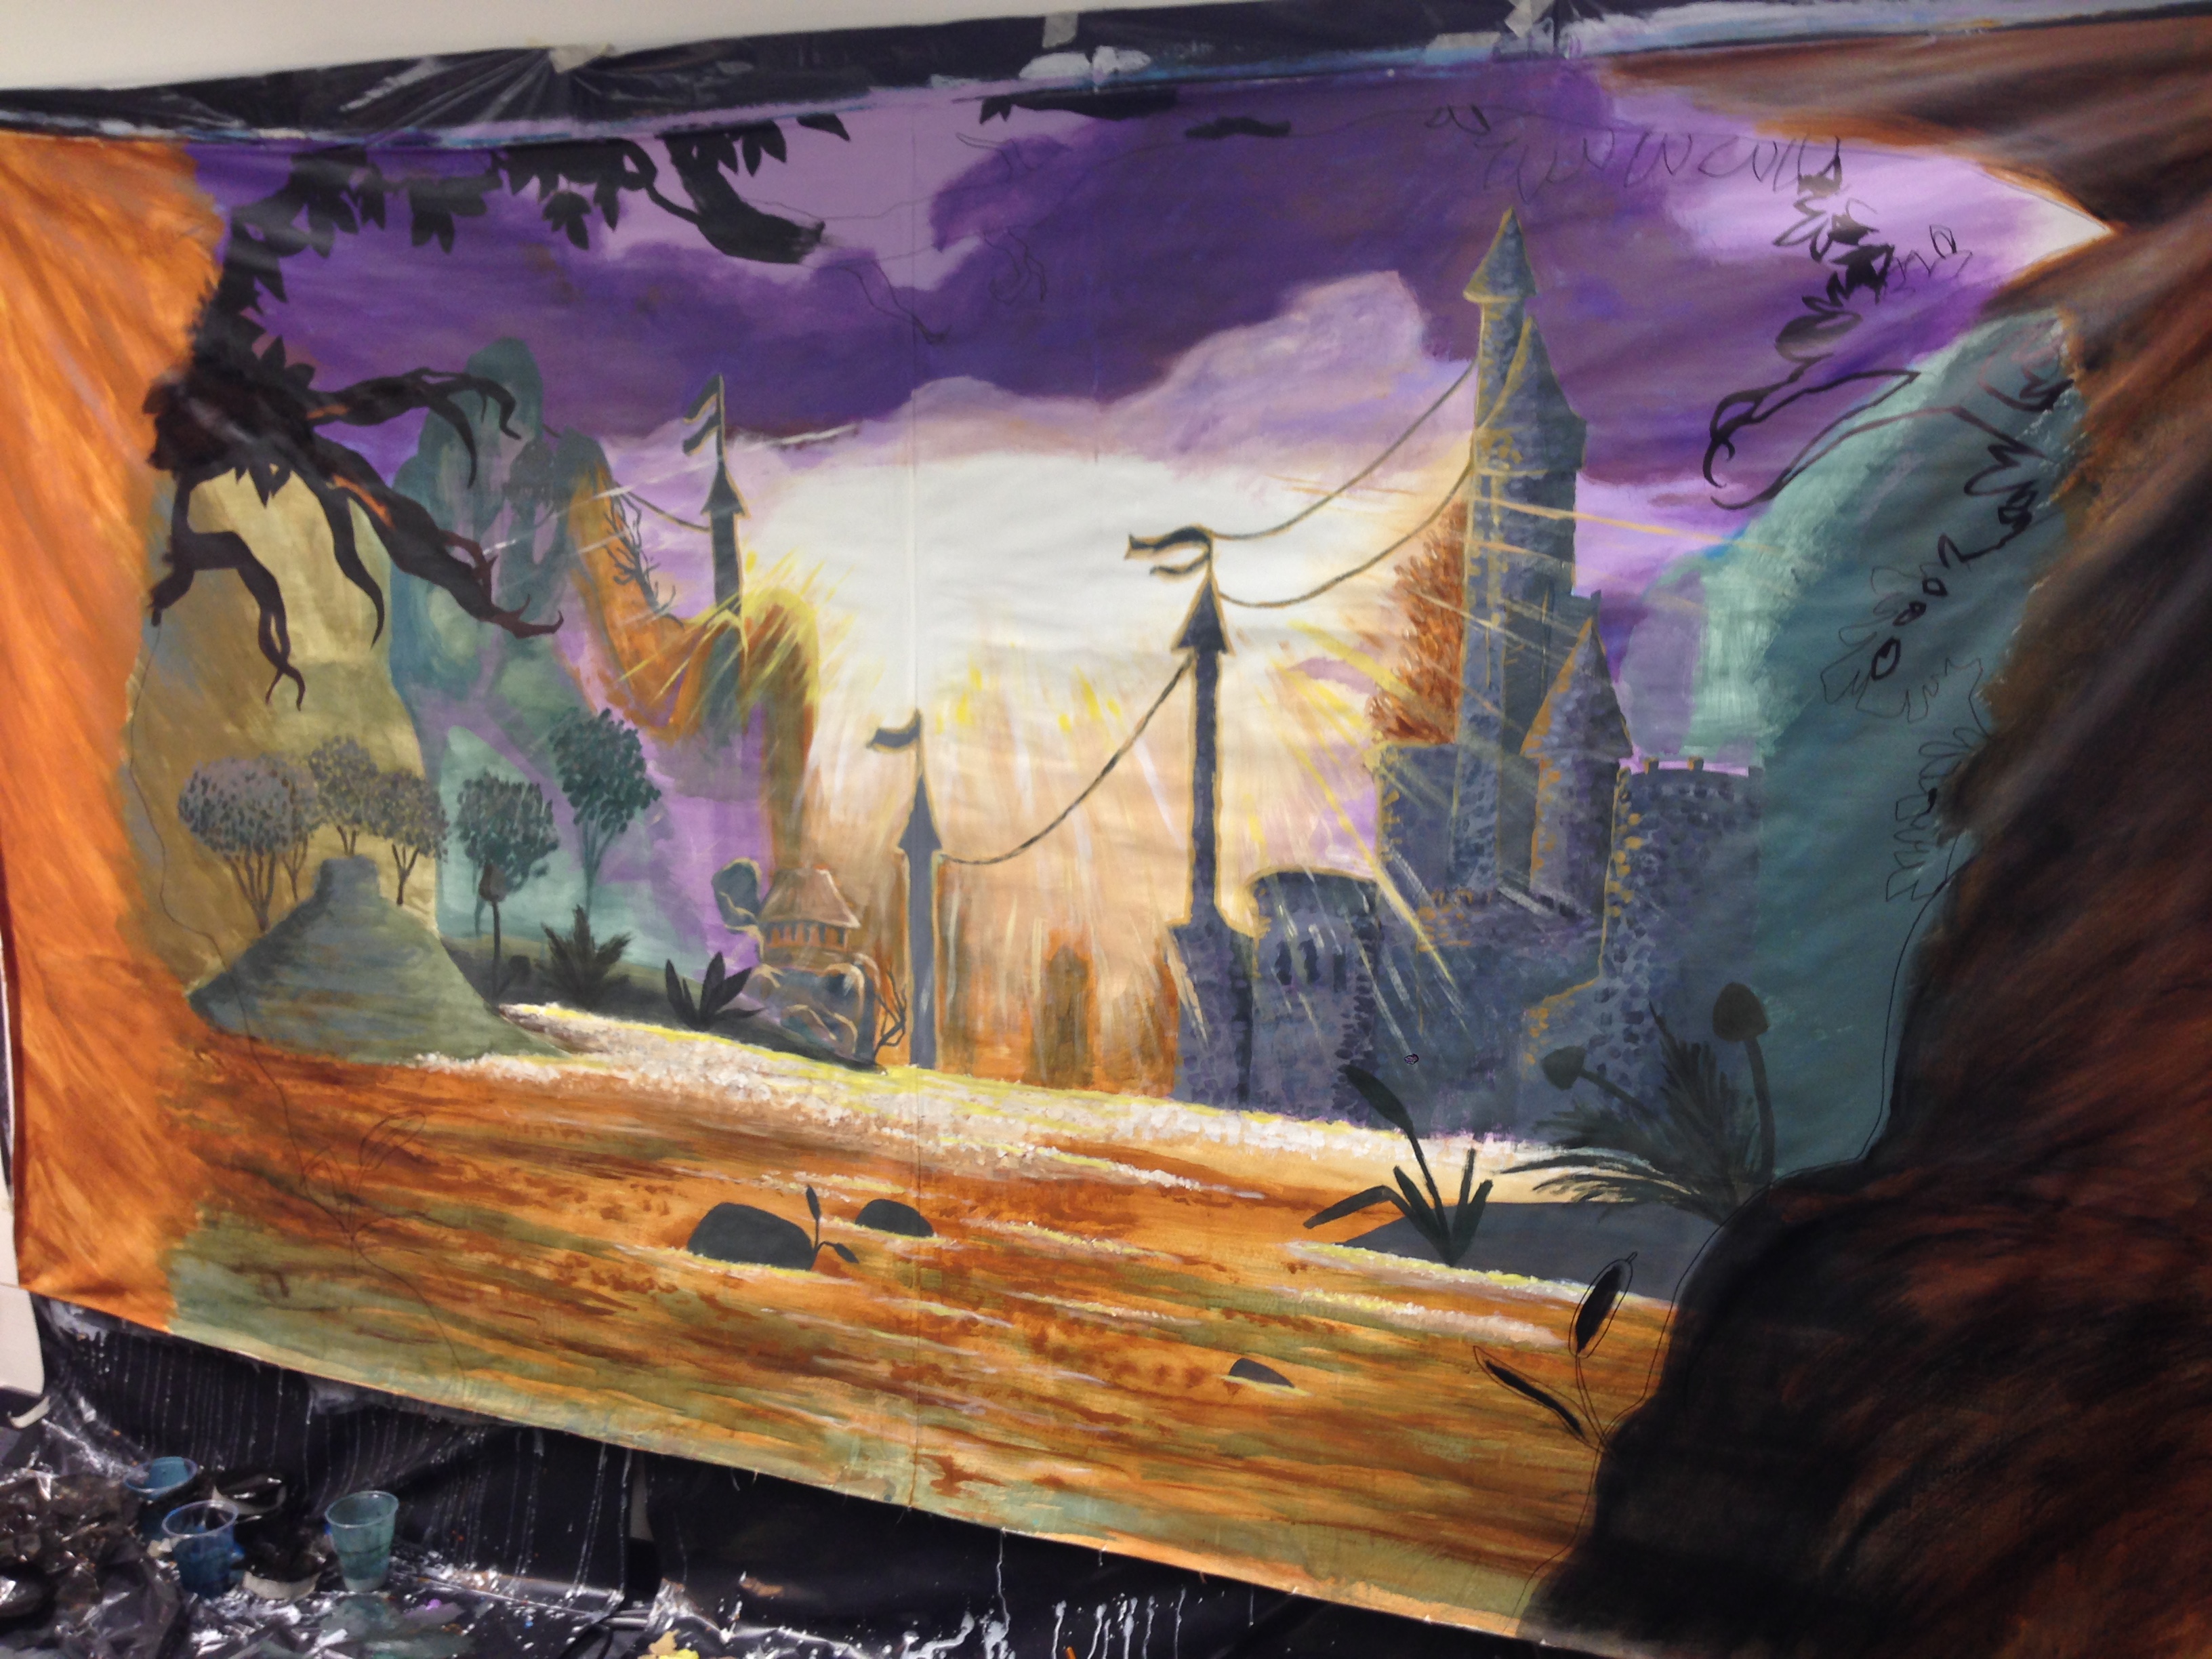
K suggested I start painting by applying large quantities of single colours to define the areas of the scenery. You can see some Splot-painting paint in the sky here, it got quickly painted over…
K was in charge of the sky and you can see here she started smoothing the sunlit area with the surrounding clouds and castles. I was still on cliff and castle shaping duty in the meantime.
Adding some dark shadows to the edges of our picture… And a barely discernible tree!
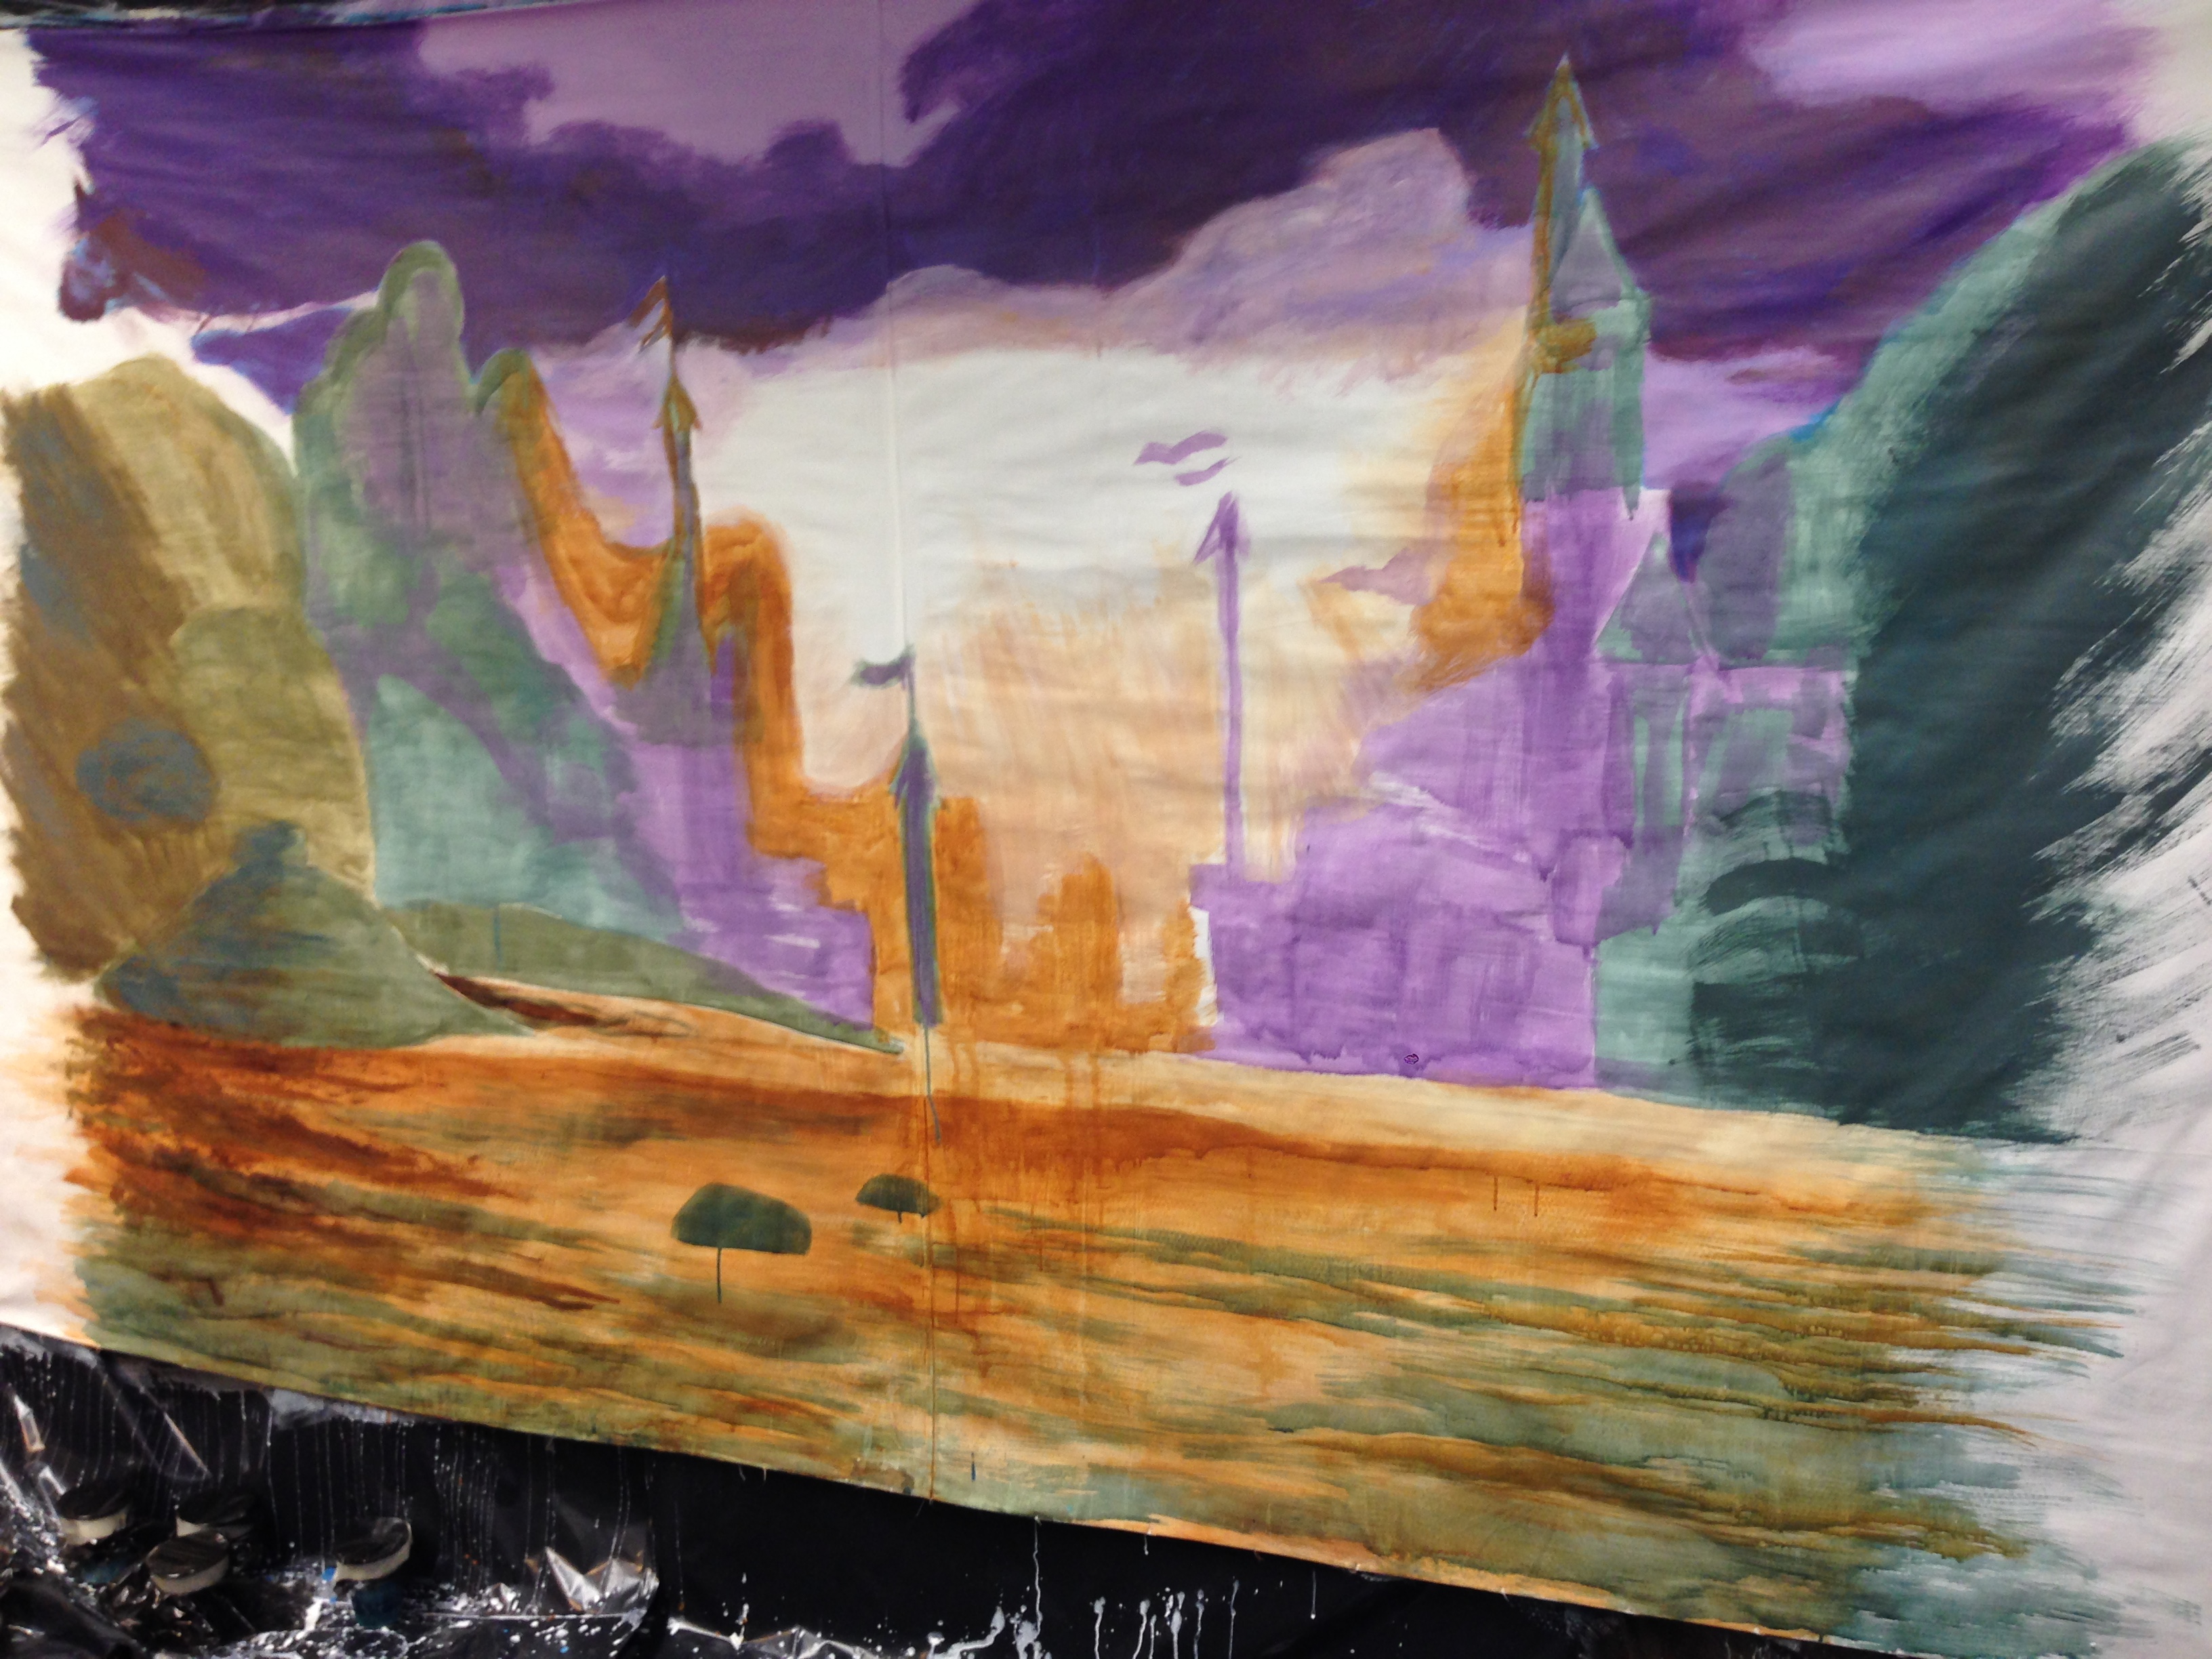
Suddenly, there’s ripples in the water (K did that)
While she works on the water highlights, I’m making shadows around the castle.
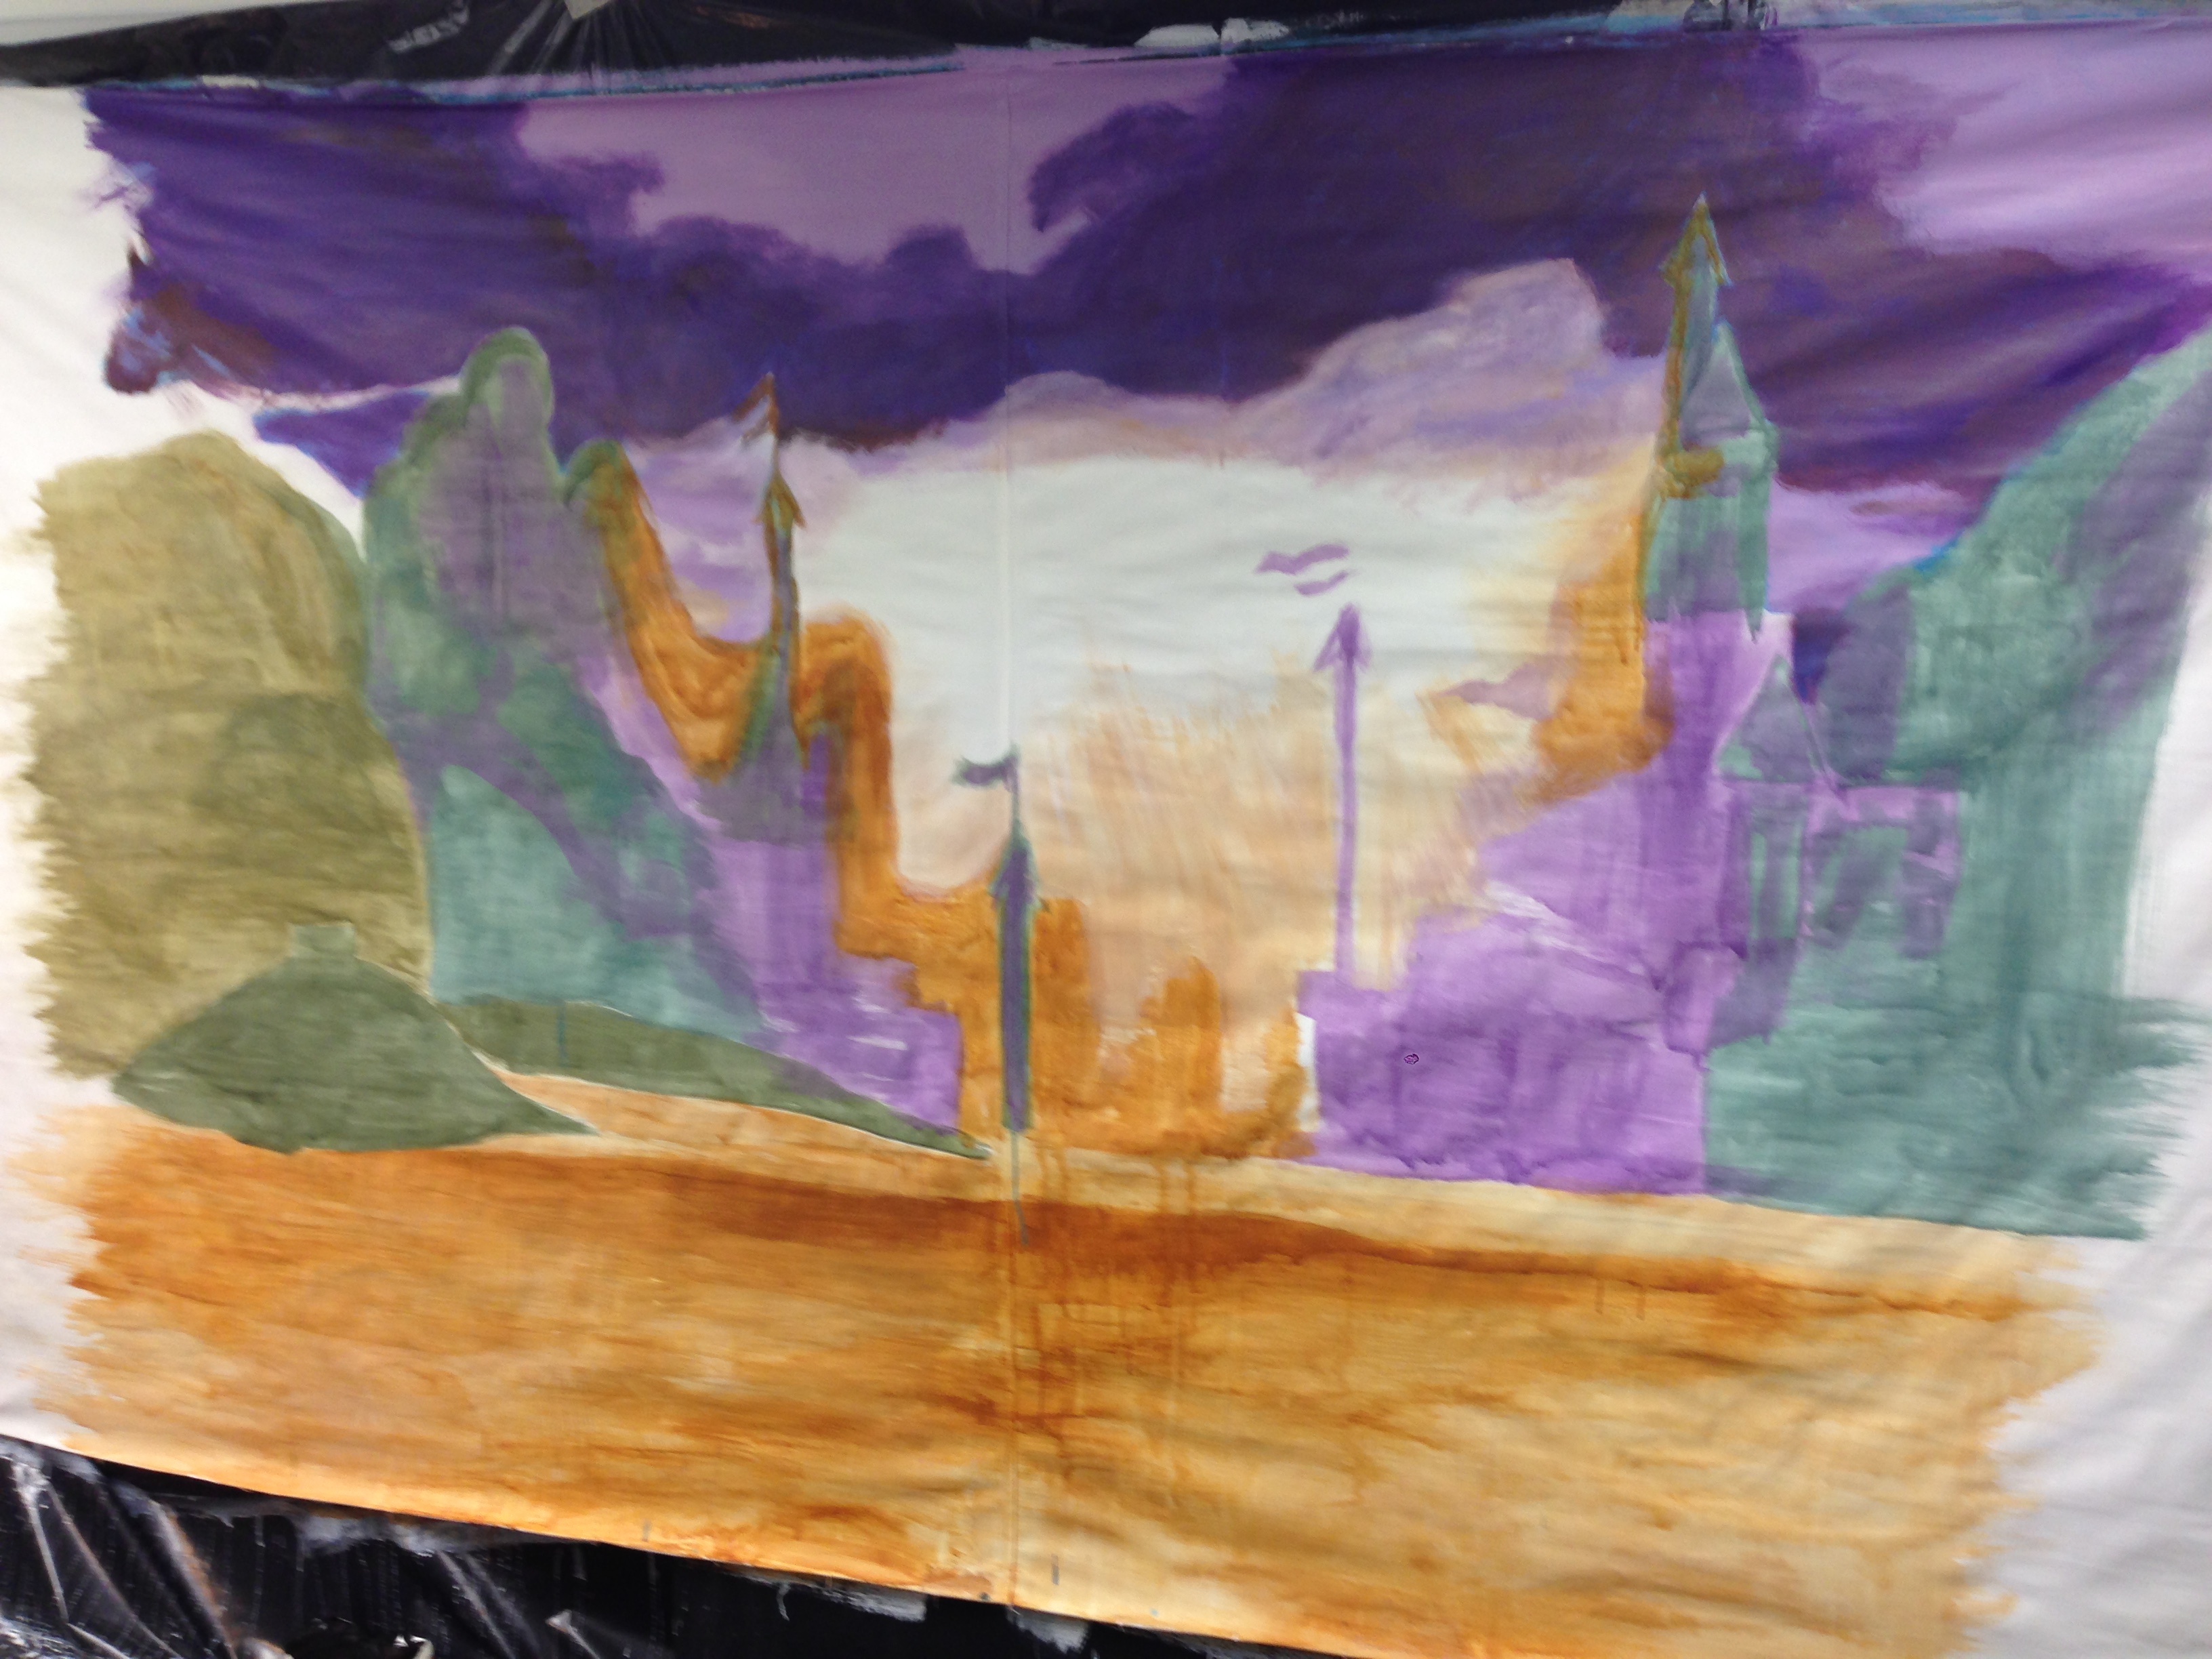
That castle wasn’t going to stay purple! Also added some bushes and stuff on the left side slopes.
The castle is getting some texture now!
We had a long row of paint mixes and brushes lined up against the wall, you can see a glimpse of them here.
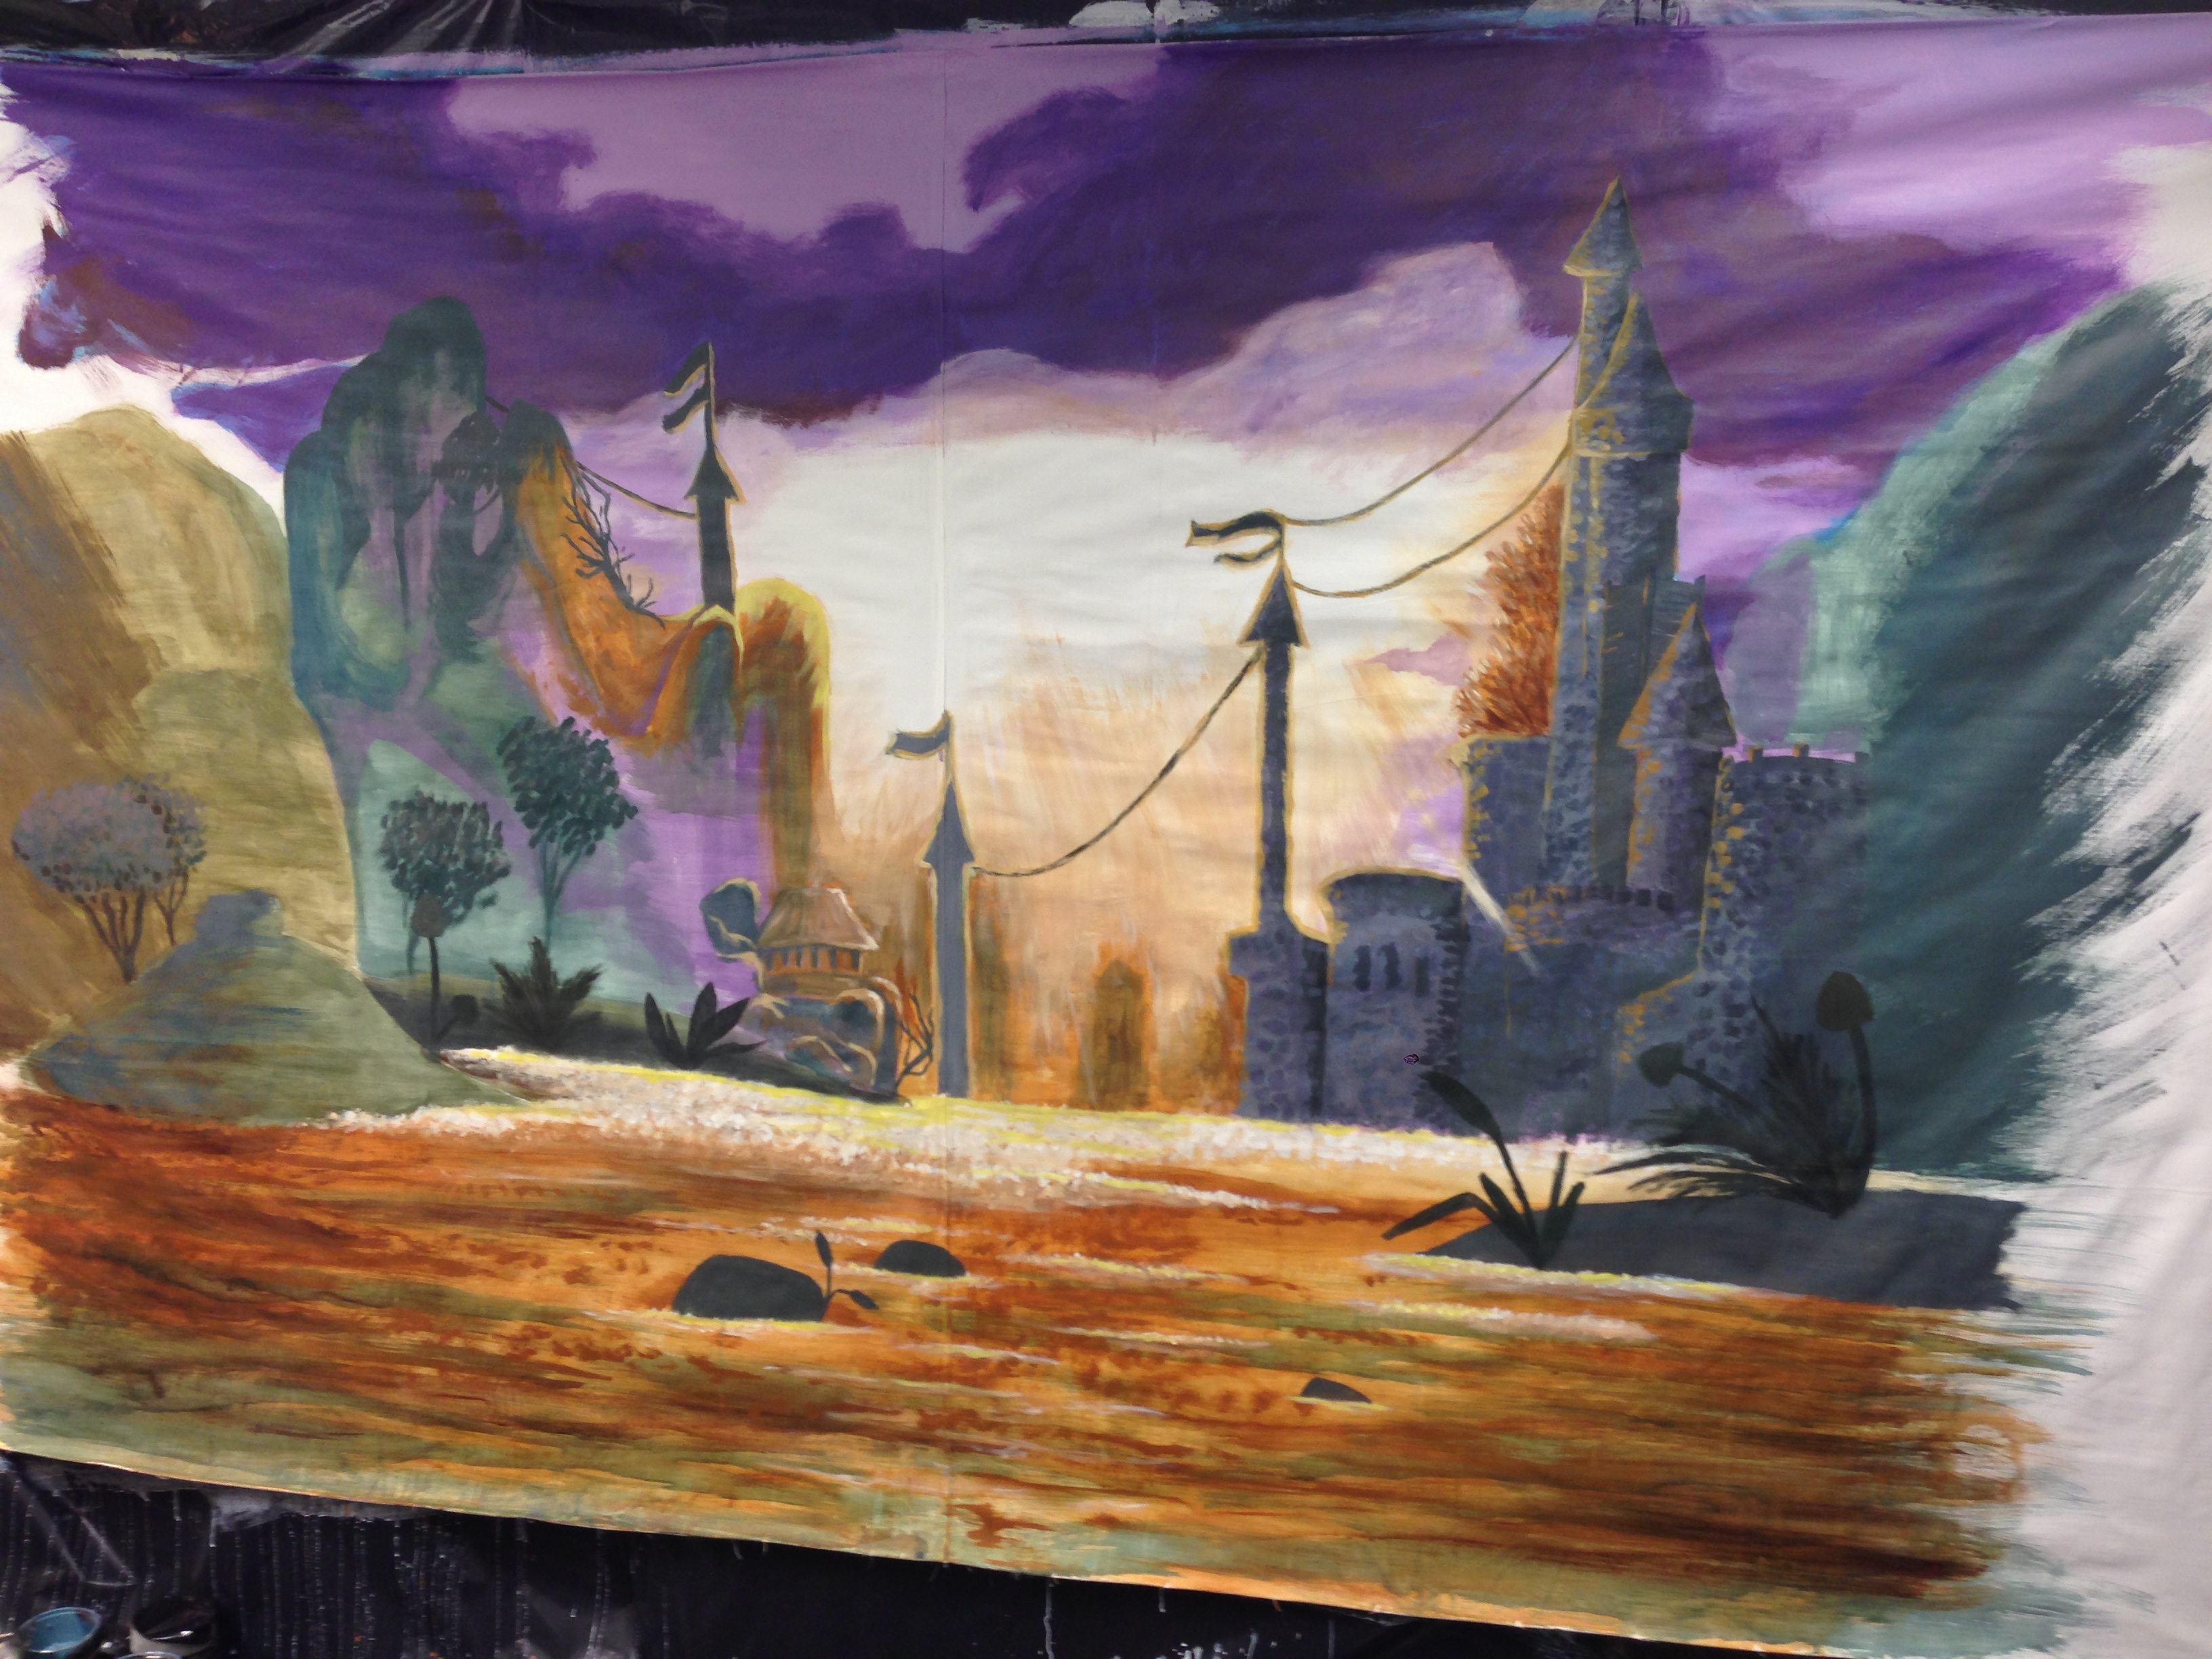
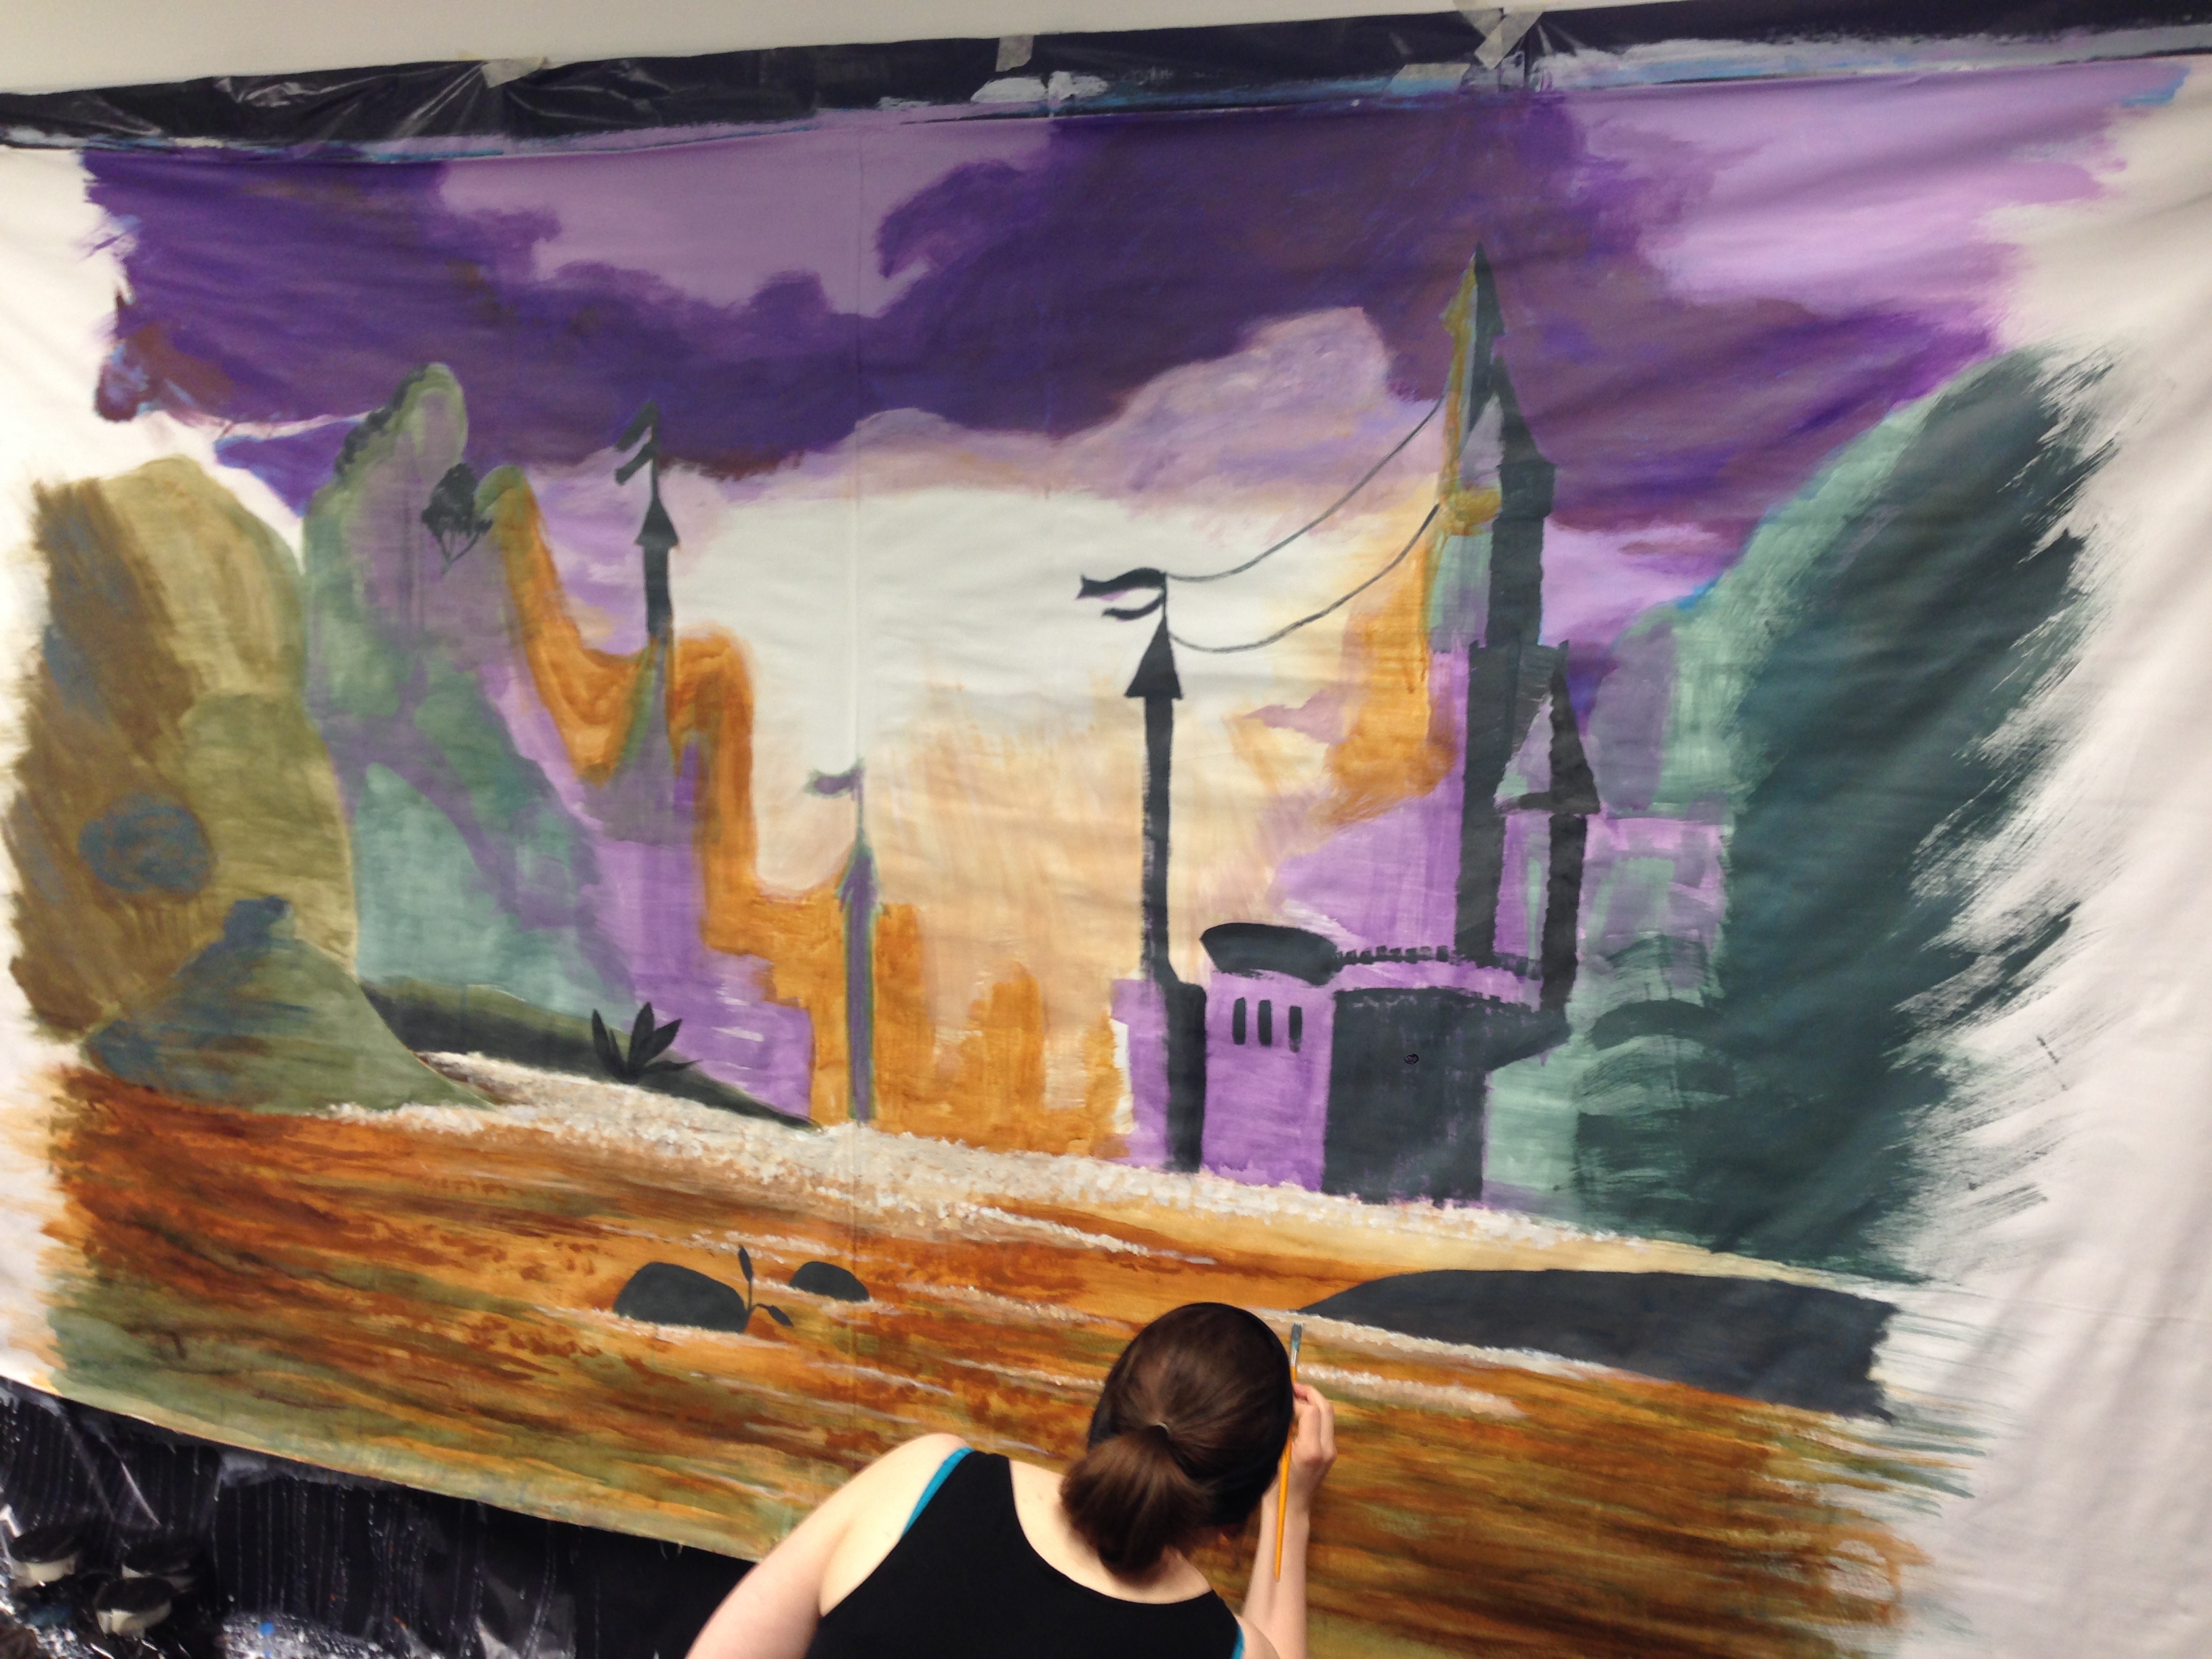
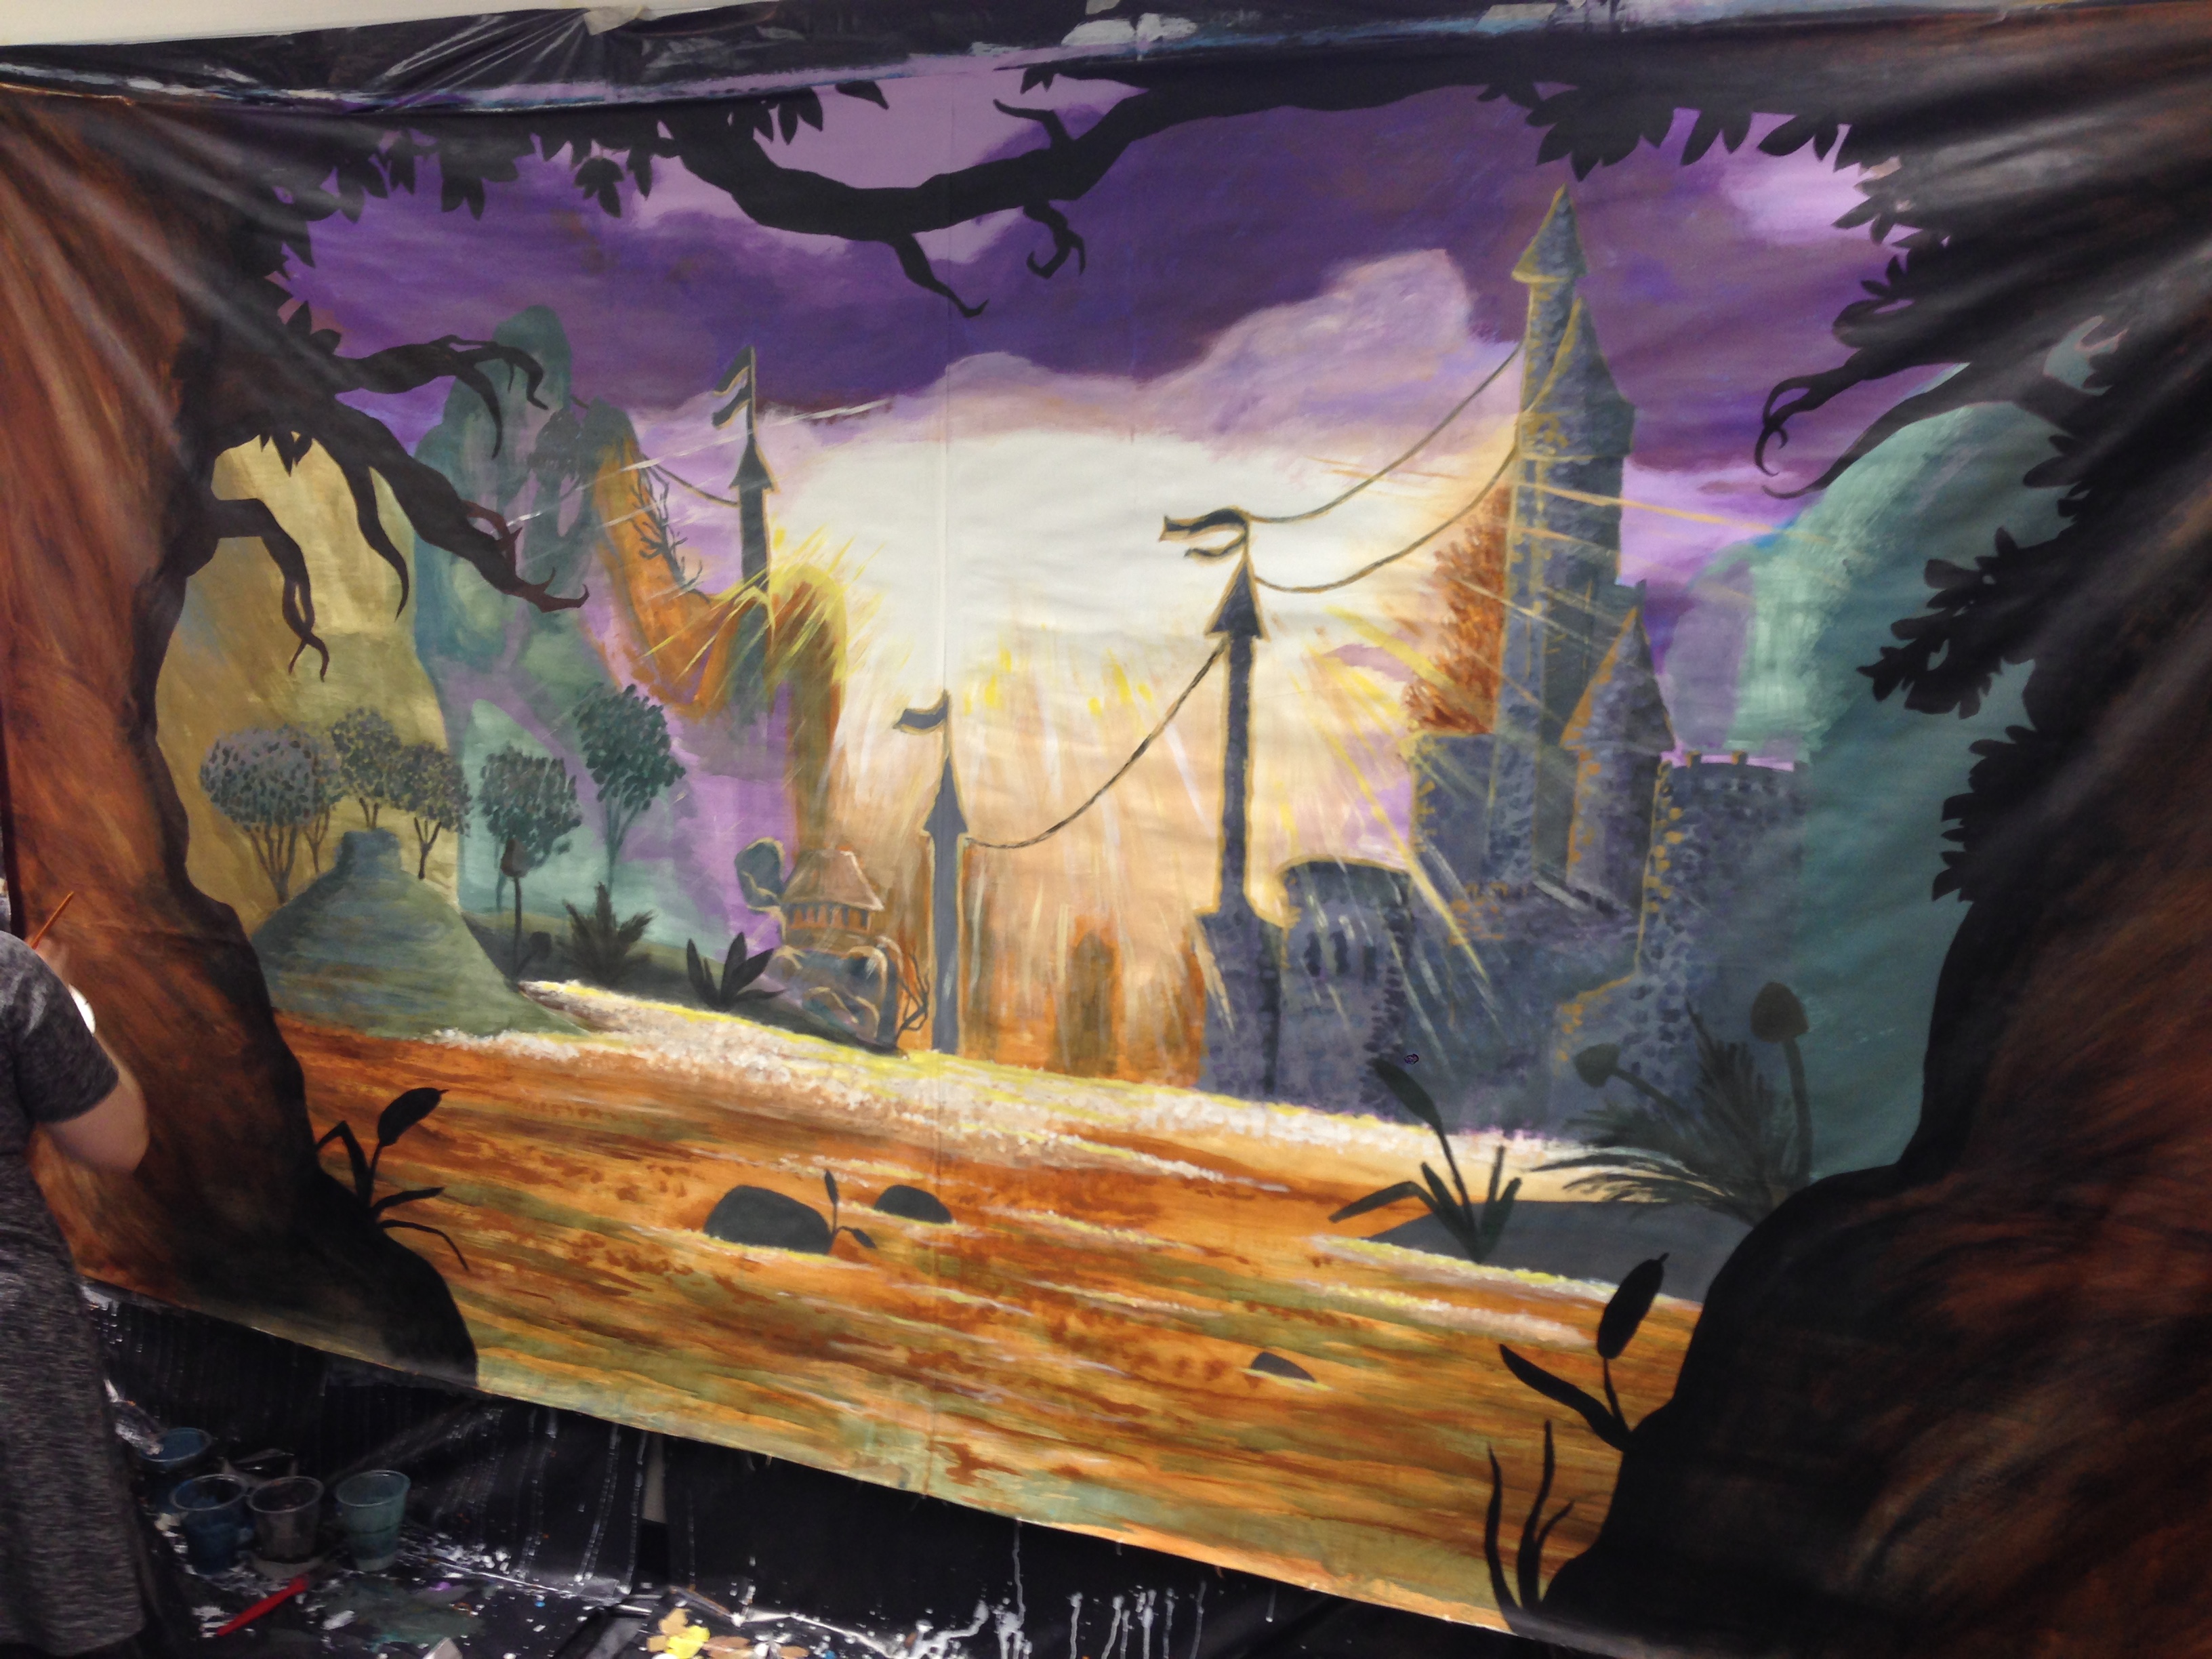
Suddenly, ferns. Castle stone walls are highlighted, and you can see a ray of light bursting out now just over the castle.
K painted some godrays (our animator J informed me of correct light effect terminology about this) while I doodled about with the trees and ferns.
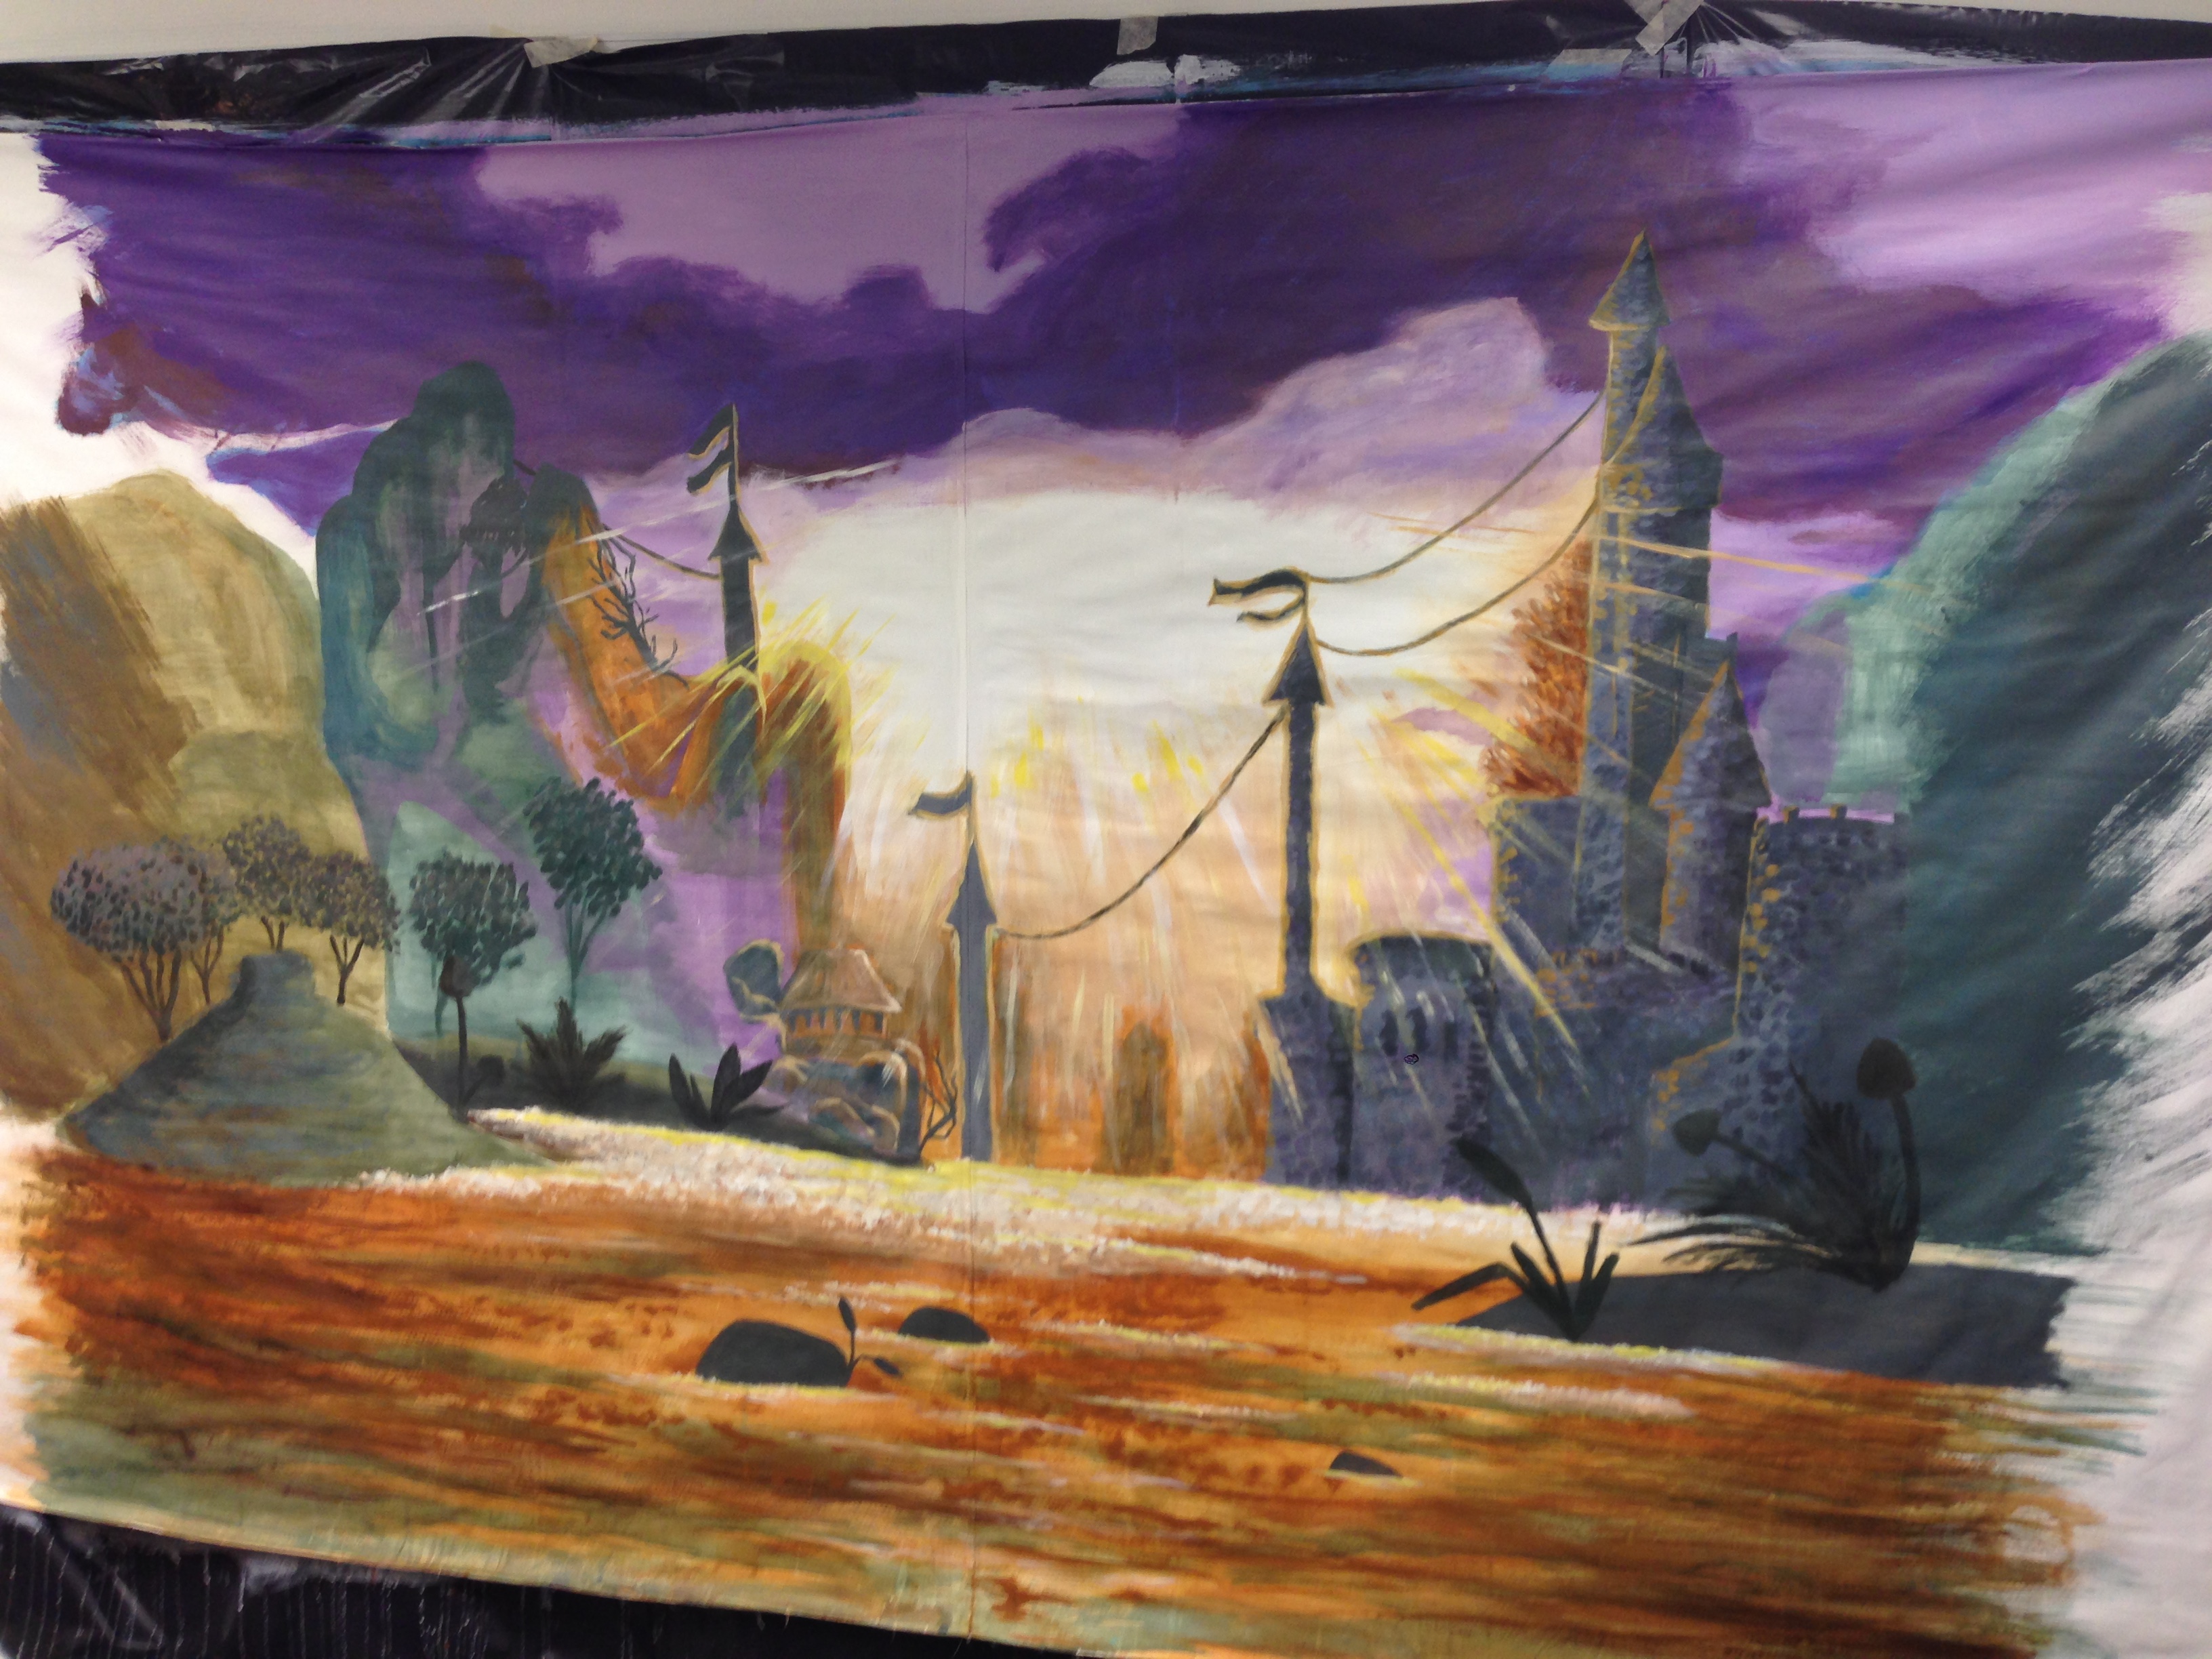
At this point, we basically had just two colour tubes left to work with, a brown and a black. K started drawing the trees and branches of the forefront – using a black marker – while I filled in the edges of our painting with a brown colour.
I added some black on top of the brown, because the forefront needed to be dark.
Left side tree gets some colour too here, and the branches are now all done, then we smoothed out the stark colour difference between the black marker edge and the lighter brown with diluted black paint.
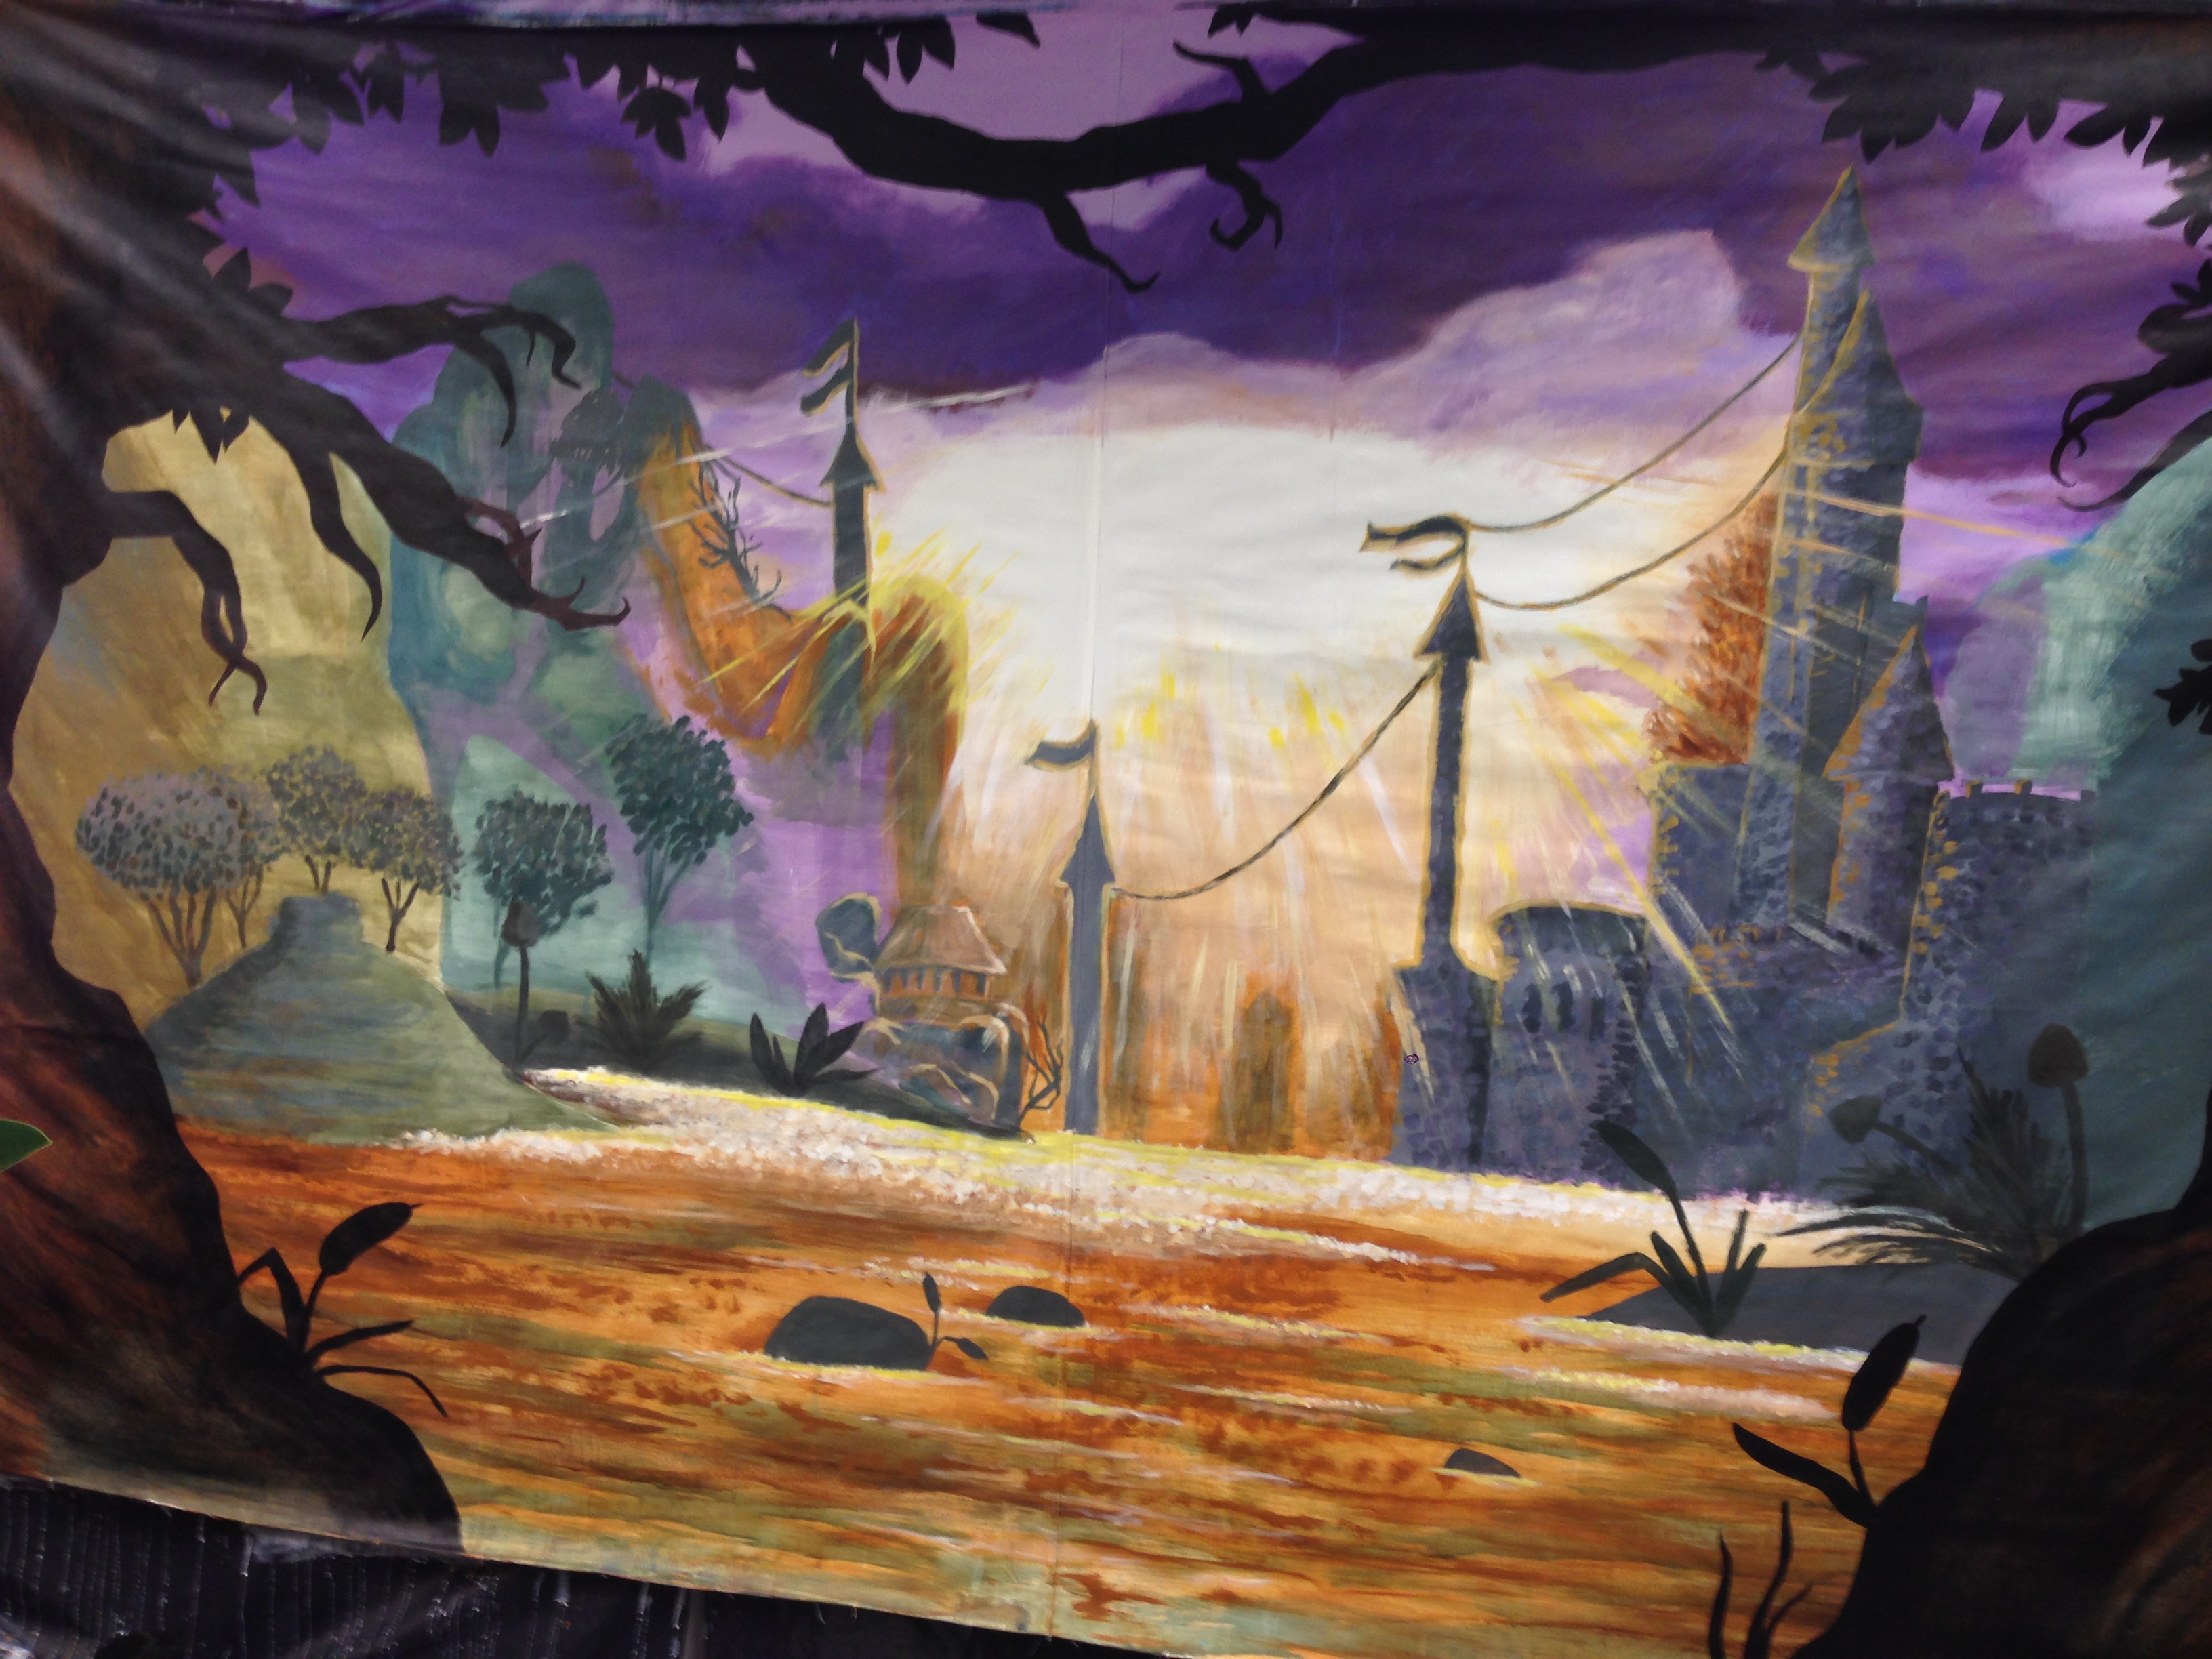
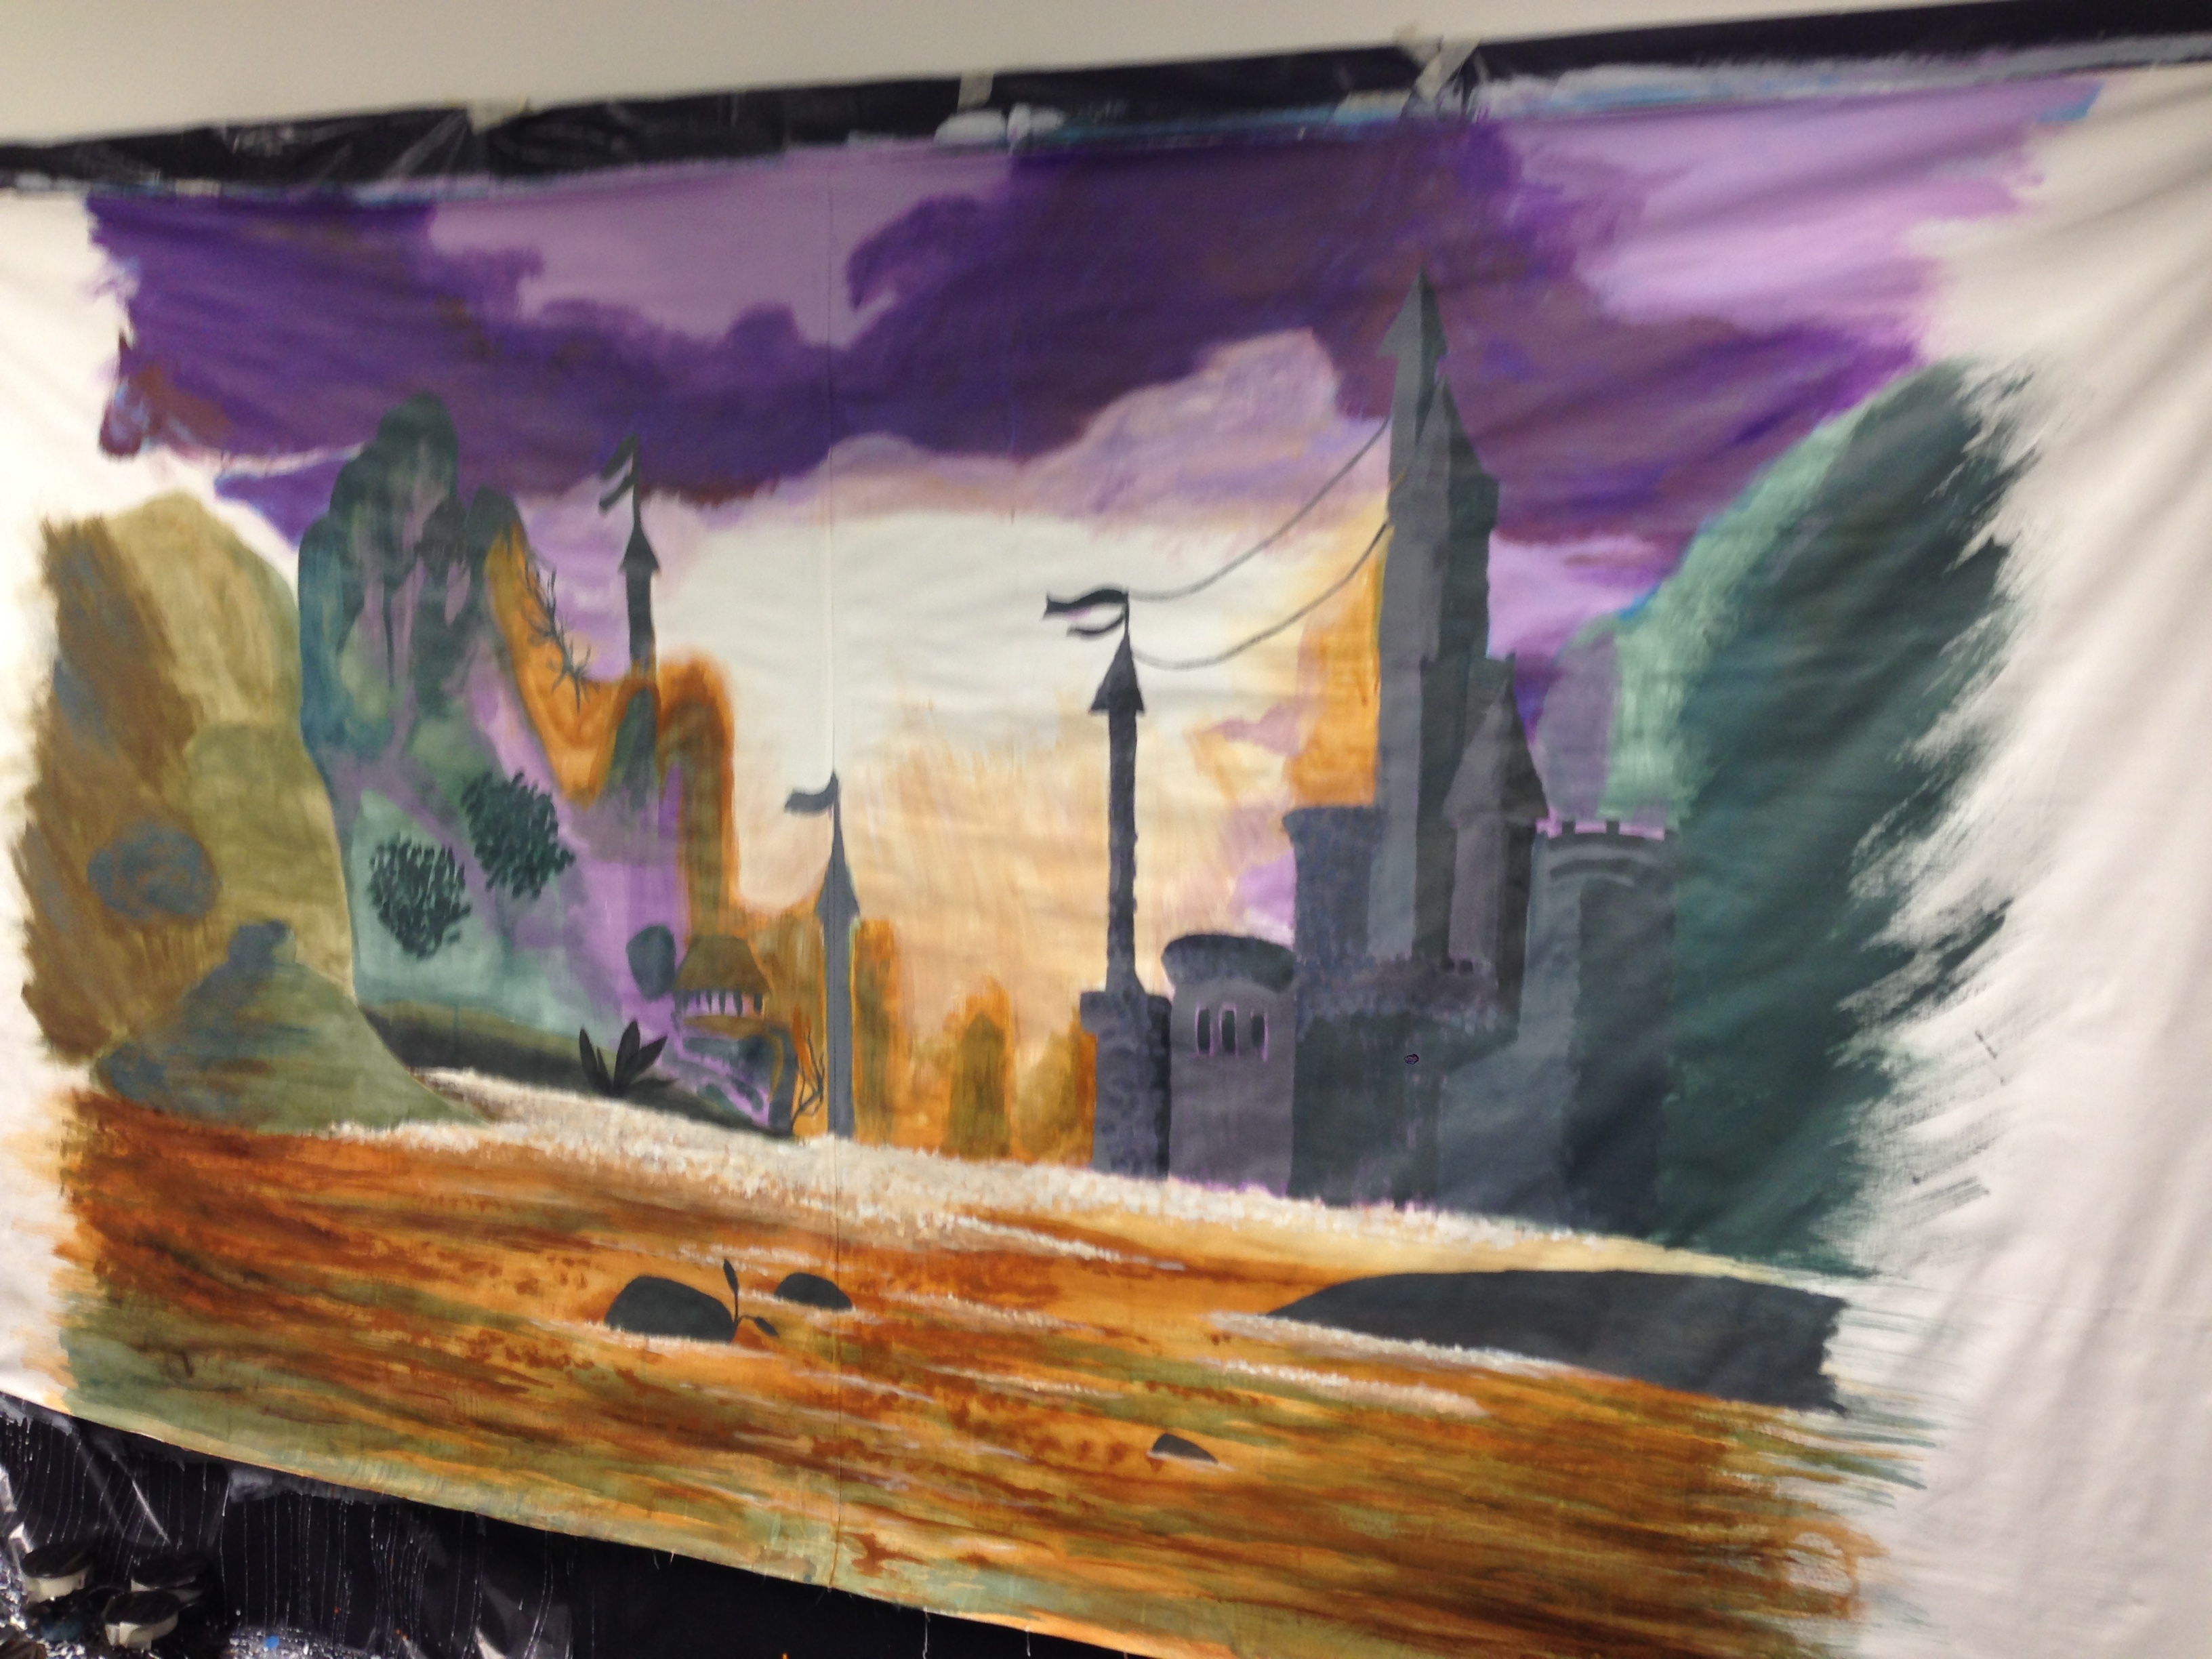
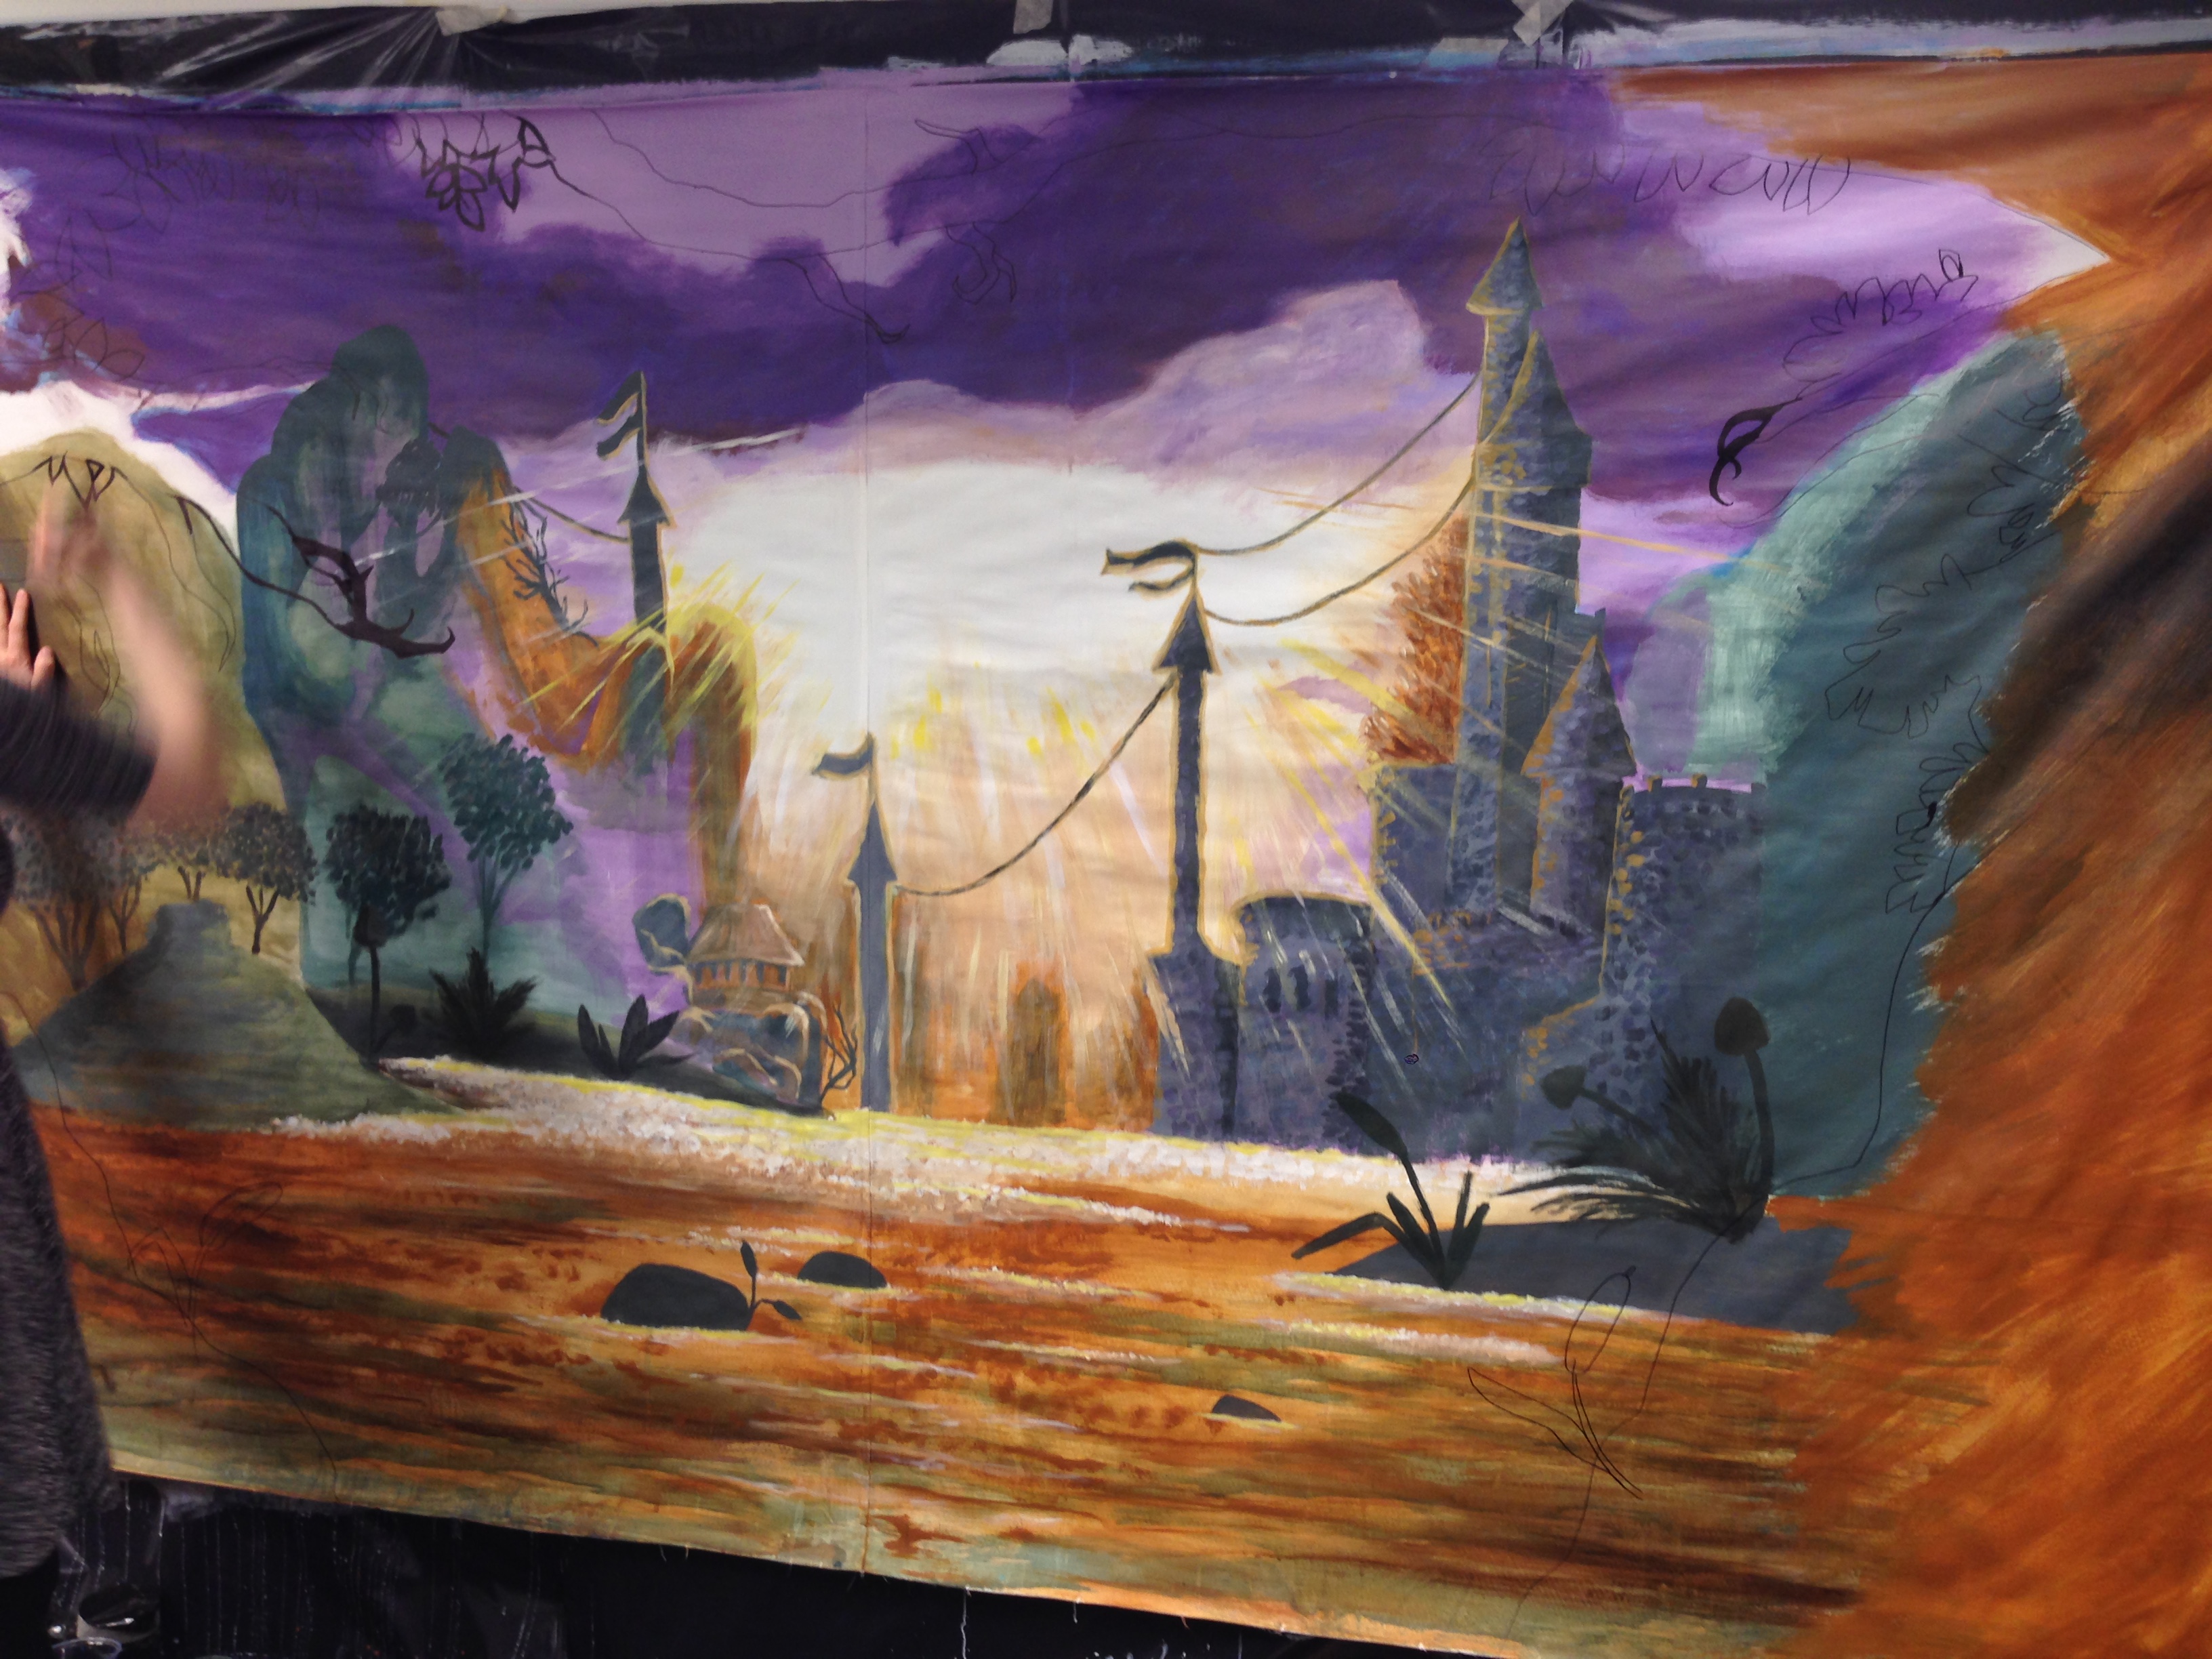
Here we are just about done with the painting as it was set up in my office.
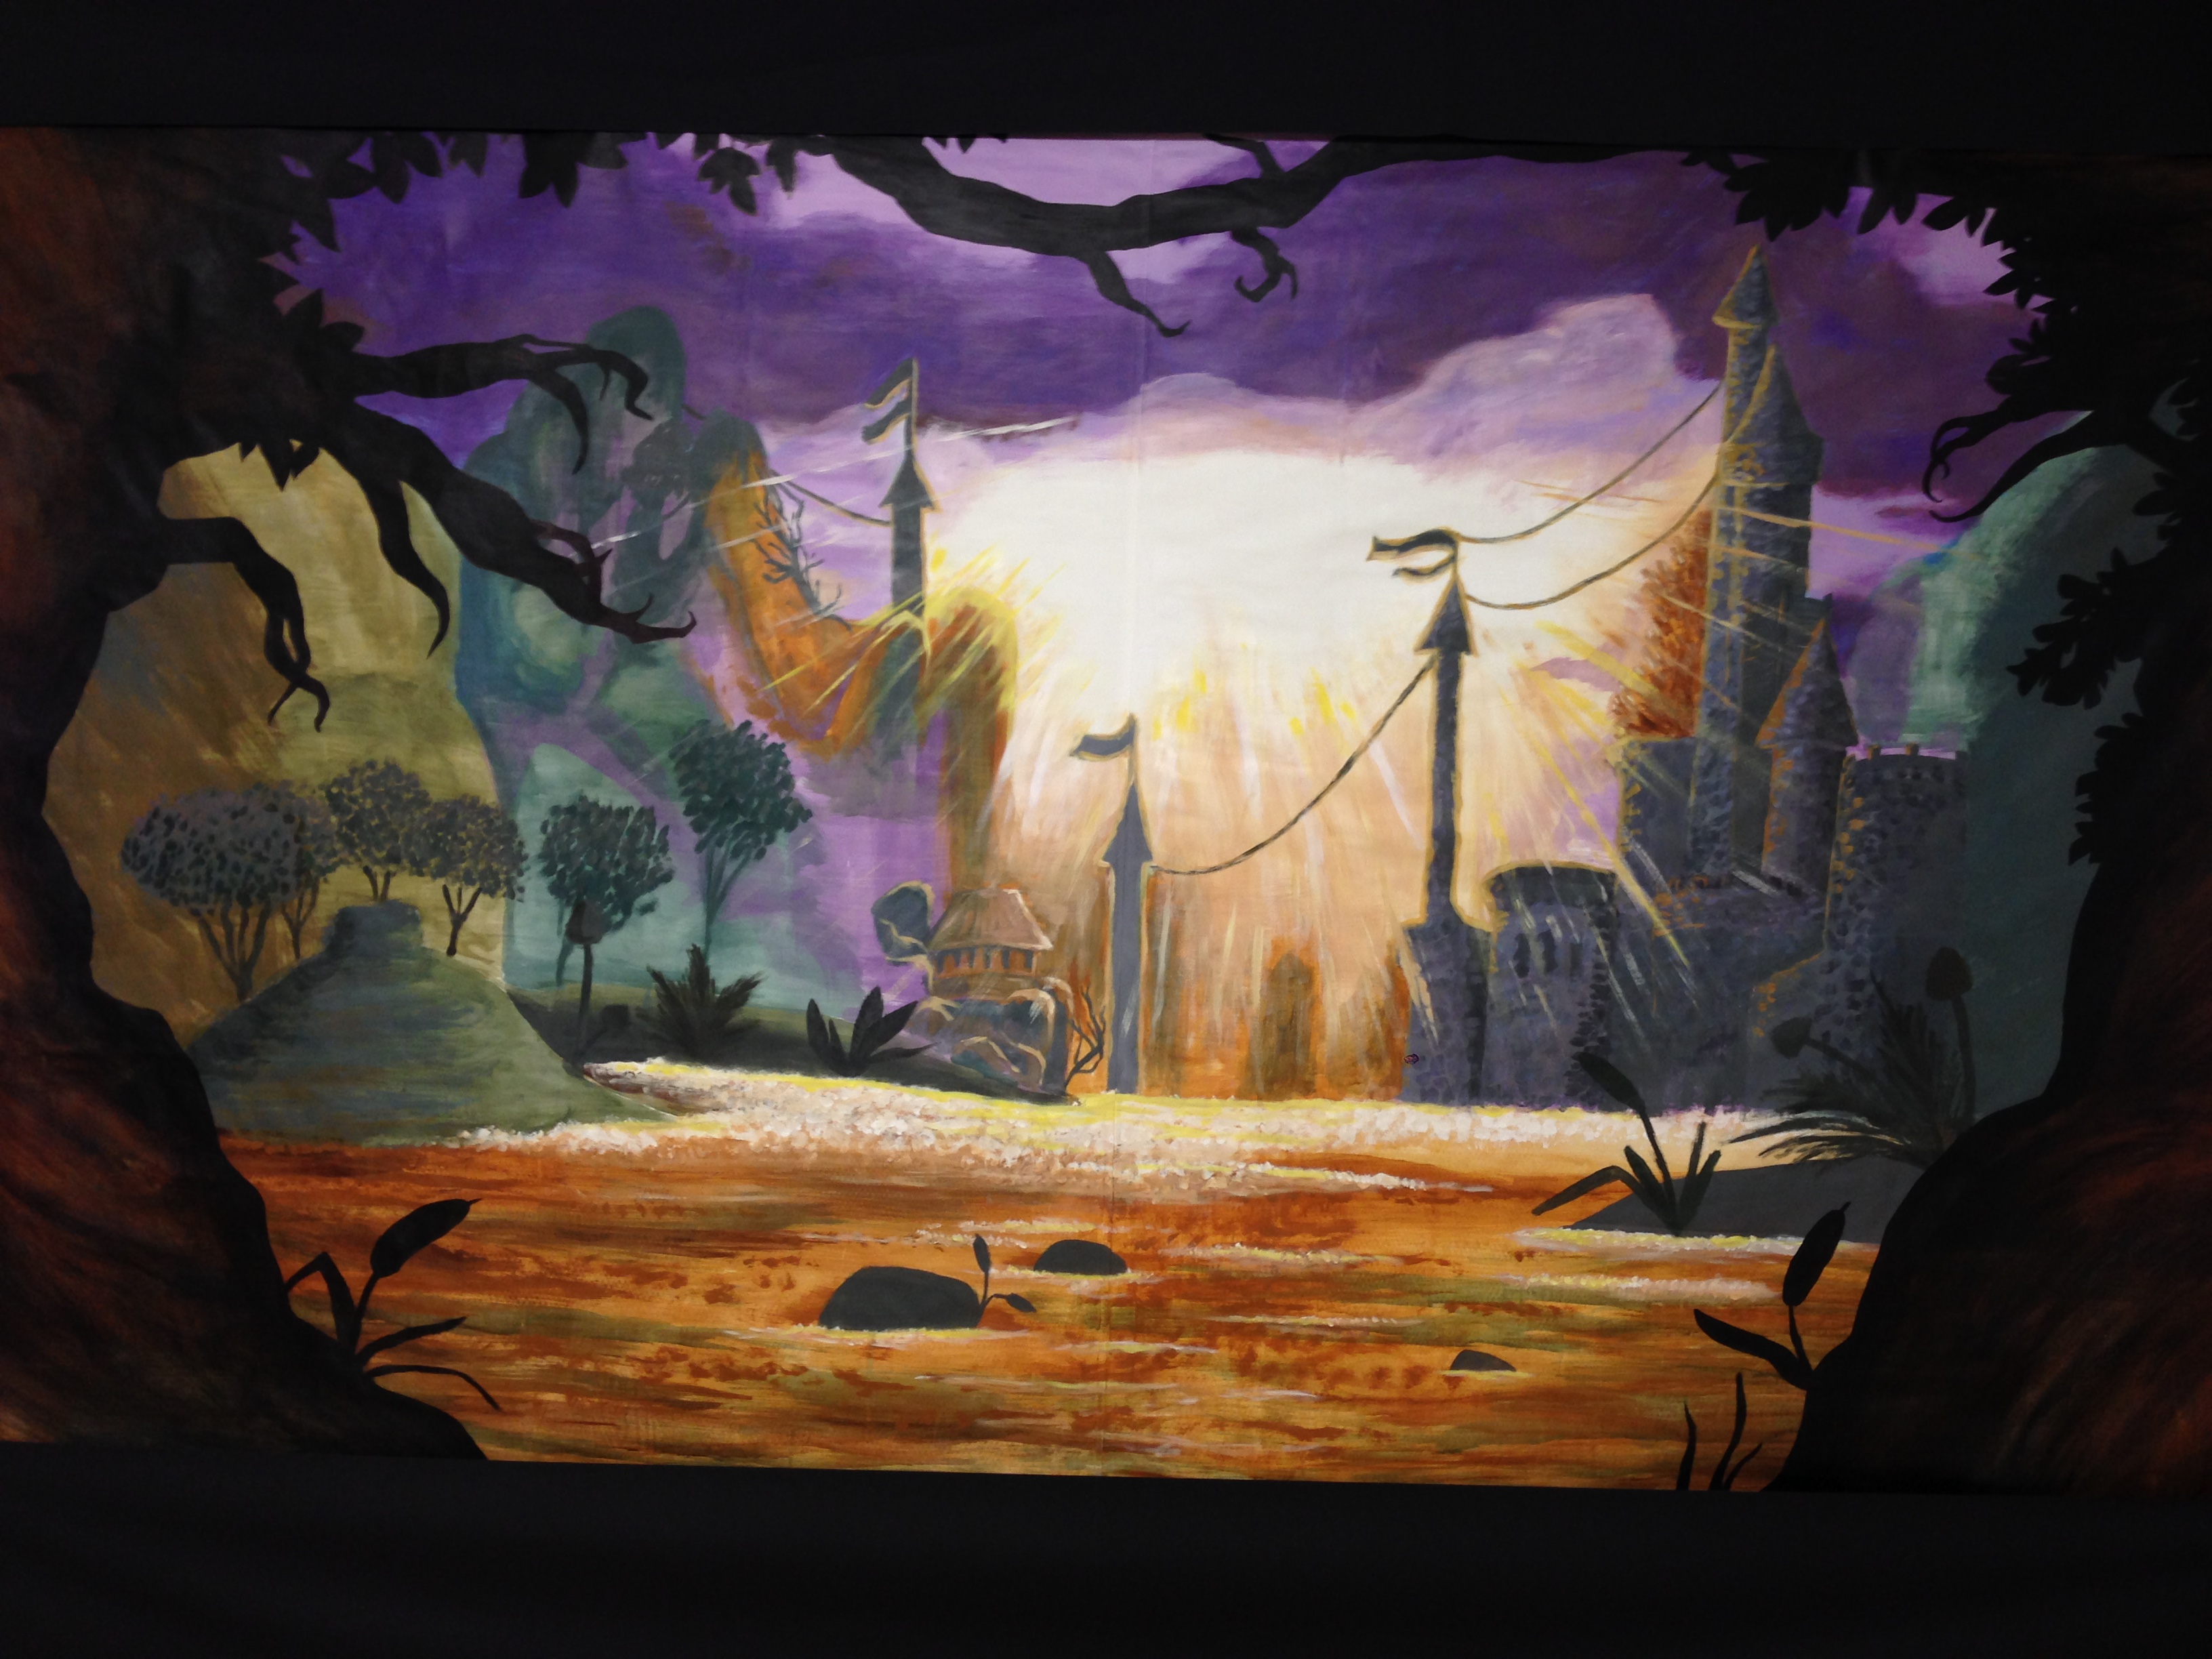
I used black paper tablecloth and some black cotton fabric to frame the painting when we set it up for the Christmas Party.
I made a Wizard Box as a prop for people to get photographed with, it’s a table with a cardboard hood.
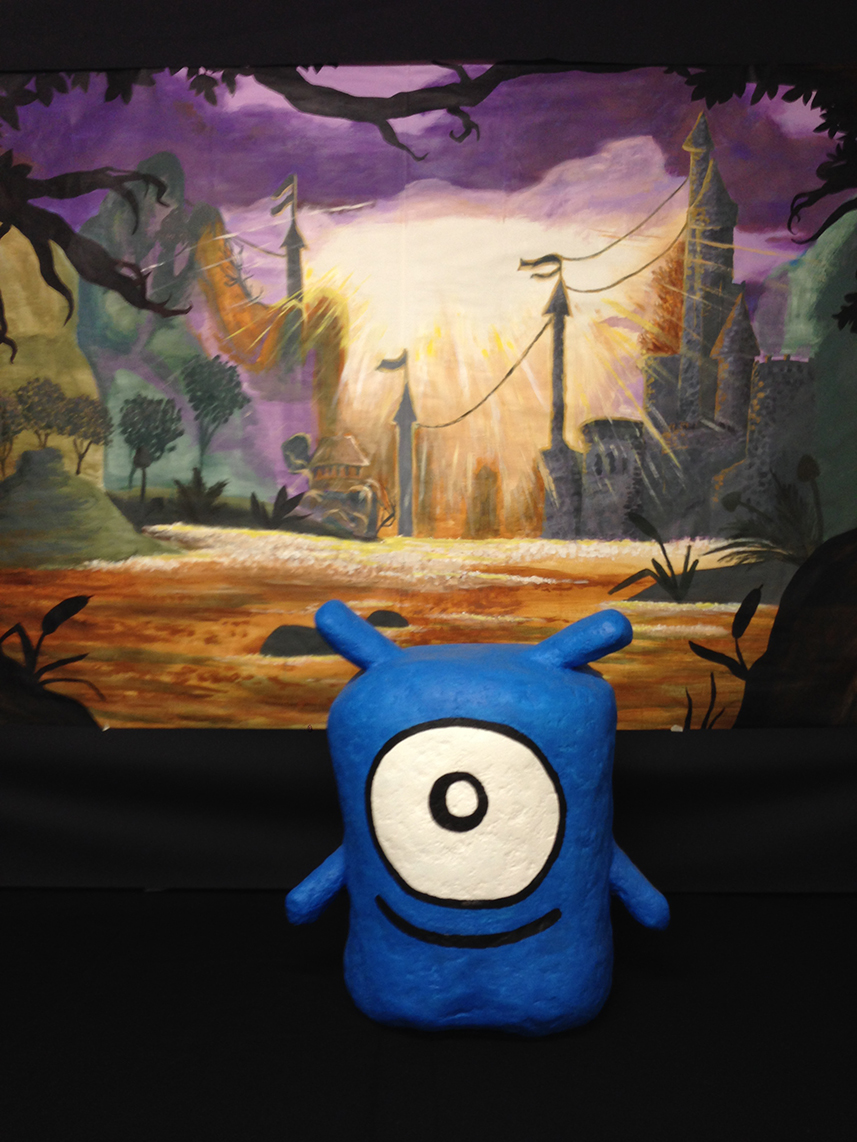
The first person to visit the newly setup photograph studio was my Splot statue.
Leave a Reply